
What can we help you with?
This function allows users to classify their debtors into price groups accordingly to the selling price maintained in Product Maintenance.
For an example, if a debtor account is classified as price group 3, system will automatically assign the selling price#3 maintained in product maintenance into the sales transaction.
Below are the overall contents for this topic:
Step 1: Enabling Price Group Entry
Step 2: Maintain Product Selling Price and Discount
Step 3: Classify Price Group in Debtor Maintenance
Step 4: Issue a Sales Invoice with price group entry
Users have to go to General Setup to enable price group entry in general setup. Without doing so, the fields and columns specifically for price group function will not be shown in the system.
Kindly follow the below steps on how to enable Price Group Entry function.
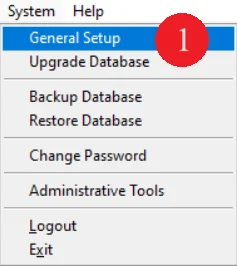
1. Go to System and select General Setup
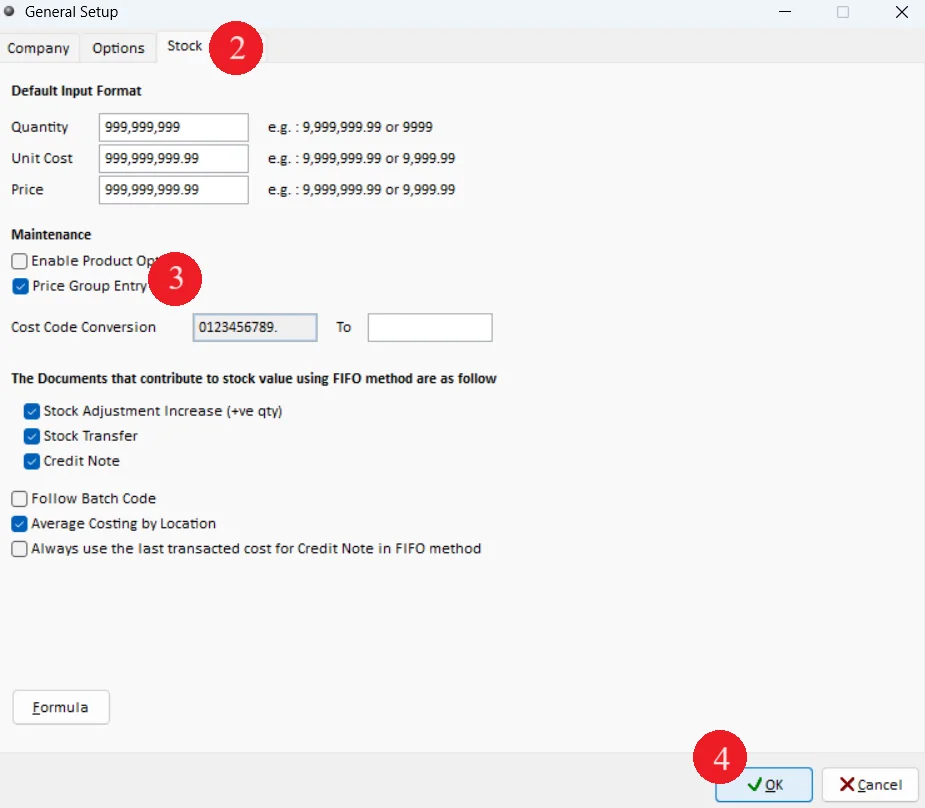
2. When the General Setup screen appear, click on Stock tab at the top of the screen
3. Find and mark the check box of Price Group Entry. It is located under Maintenance section of the Stock tab
4. Click on OK button
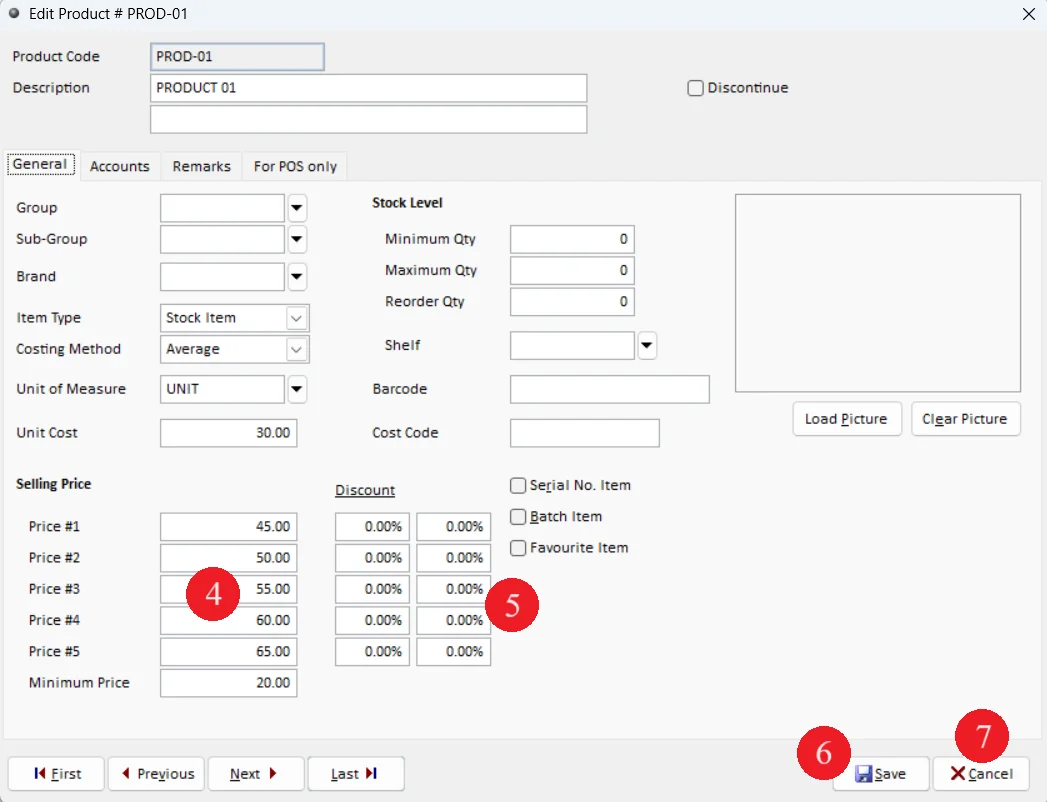
After activating the function, system will show 1st Discount and 2nd Discount column beside every selling price in the product maintenance screen. Users will have to ensure that the selling prices are entered.
Kindly follow the below steps on how to maintain selling price and discounts.
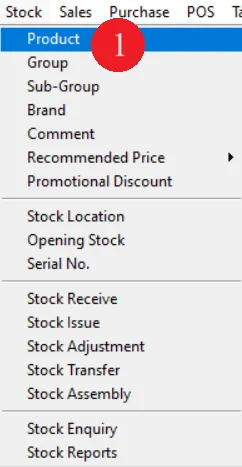
1. Go to Stock and select Product
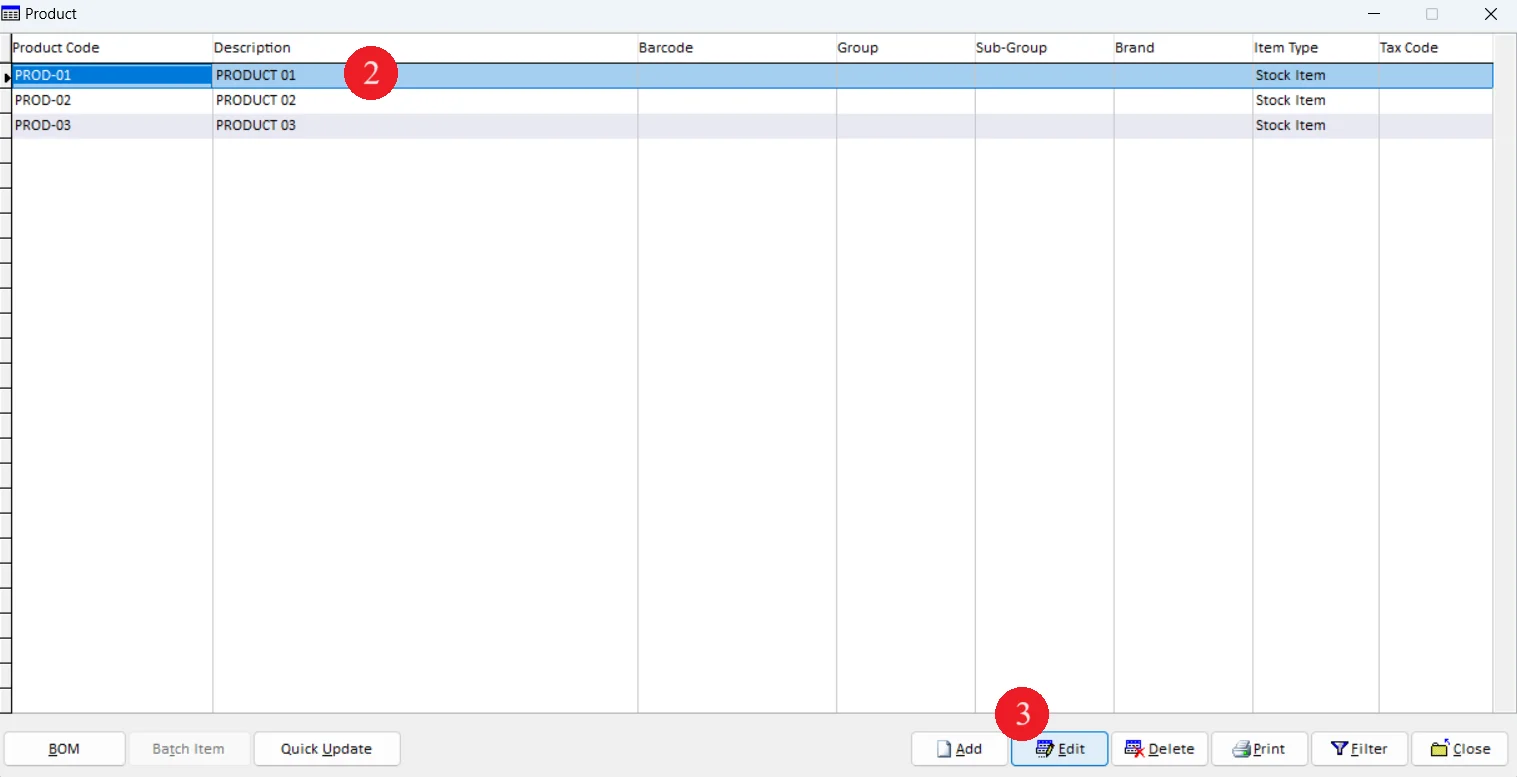
2. Select a Product from the product list
3. Click on Edit button
4. Enter Selling Price#1 to Price#5
5. Enter Discount if needed
6. Click on Save button to save the changes
7. Click on Cancel button to close the Edit Product screen.
A column will be added in Debtor Maintenance after activating Price Group function. This column allows users to select price group 0 to price group 5. Price group will then reflect the price accordingly to the selling price 1 to 5 maintained in Product Maintenance.
Kindly follow the below steps on how to classify price group in Debtor Maintenance.
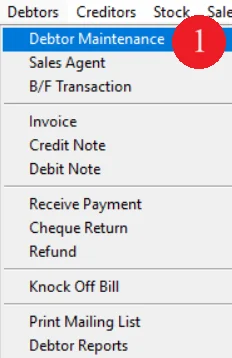
1. Go to Debtor and select Debtor Maintenance
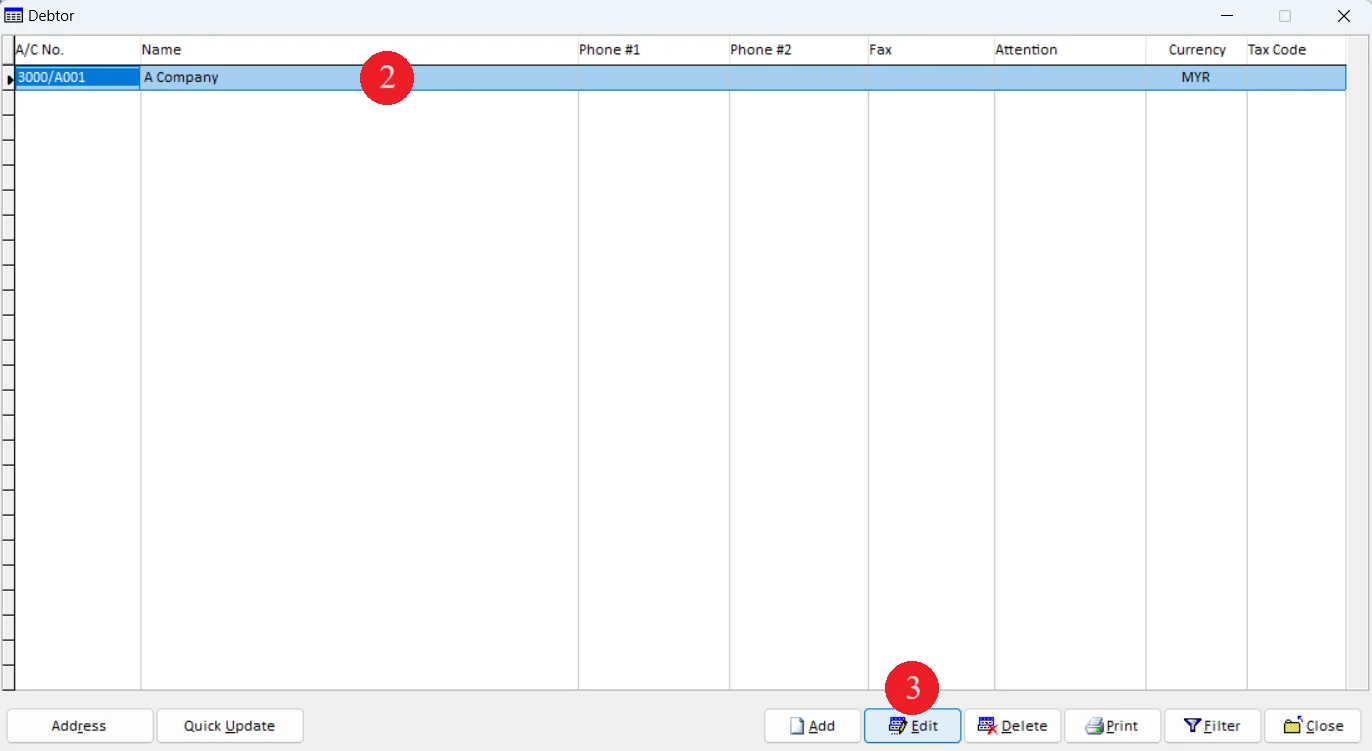
2. Select a Debtor from the debtor list
3. Click on Edit button
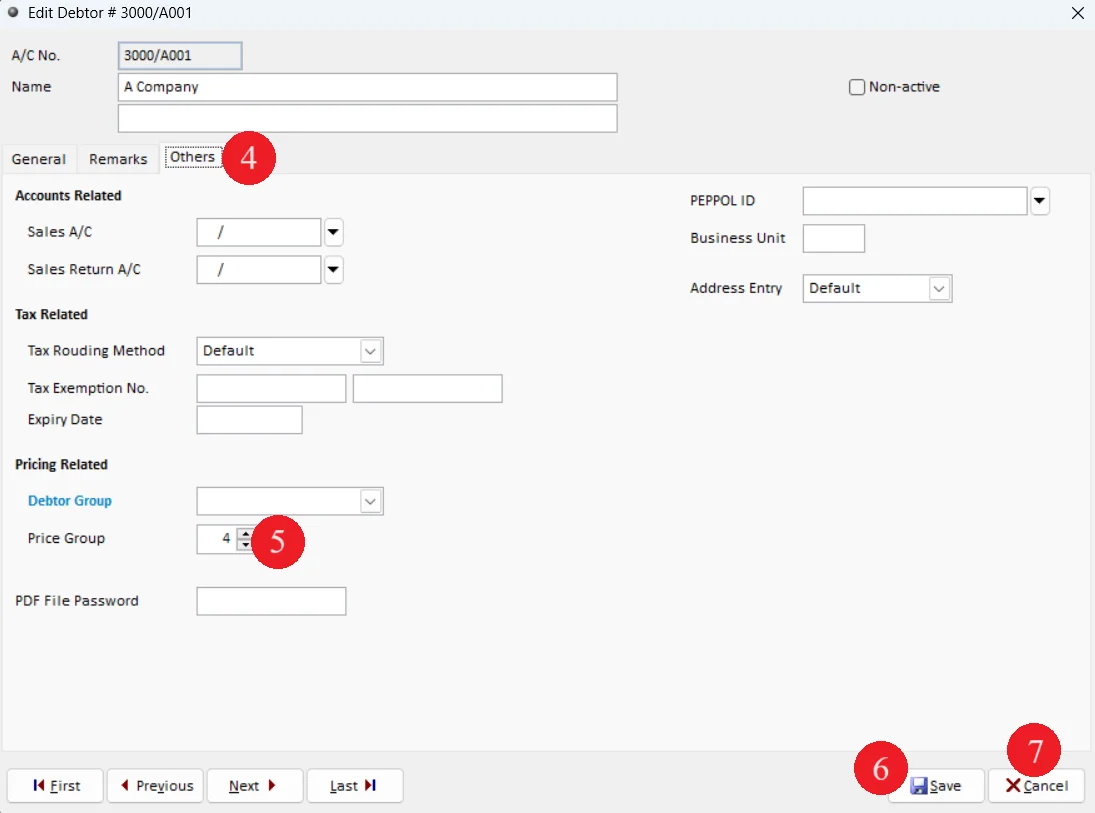
4. When the Edit Debtor screen appears, click on Others tab
5. A column named Price Group will be shown. Select the desired price group for the debtor
6. Click on Save button
7. Click on Cancel button to close the Edit Debtor screen
This part of the guide is to show users that the price column in Sales Invoice will be reflecting the respective pricing accordingly to the price group maintained in Debtor Maintenance.
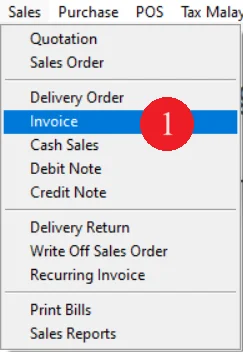
1. Go to Sales and select Invoice
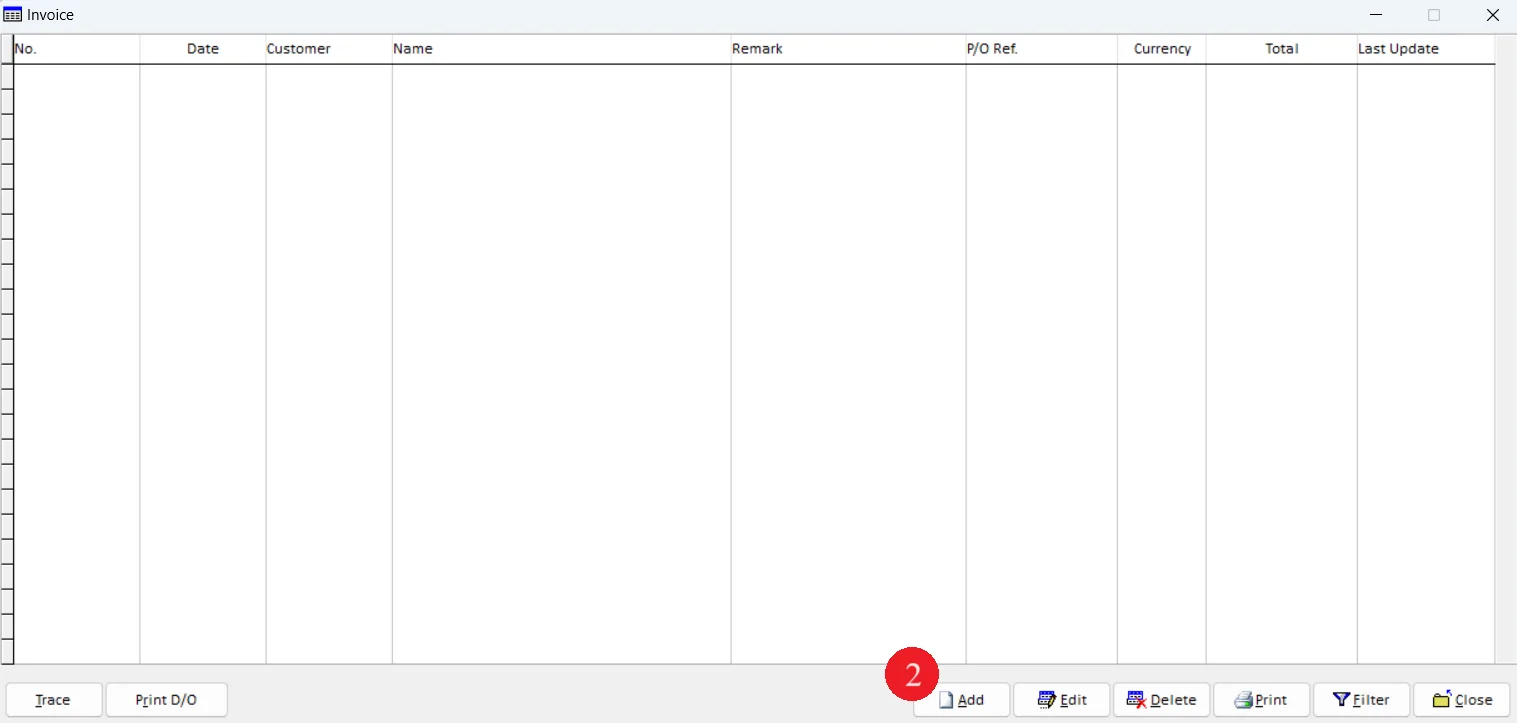
2. Click on Add button
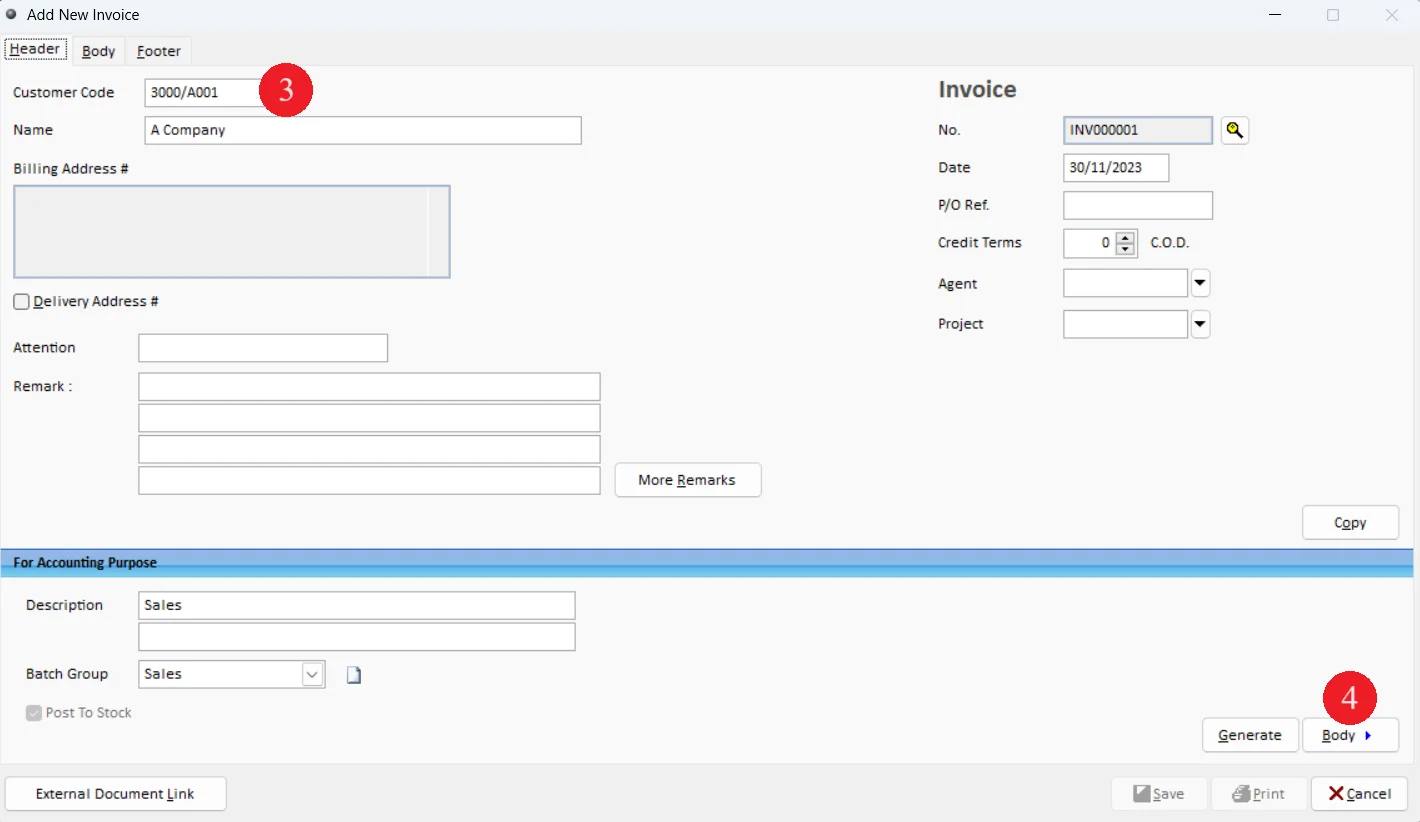
3. In the Header page, select a Debtor with its price group maintained
4. Click on Body
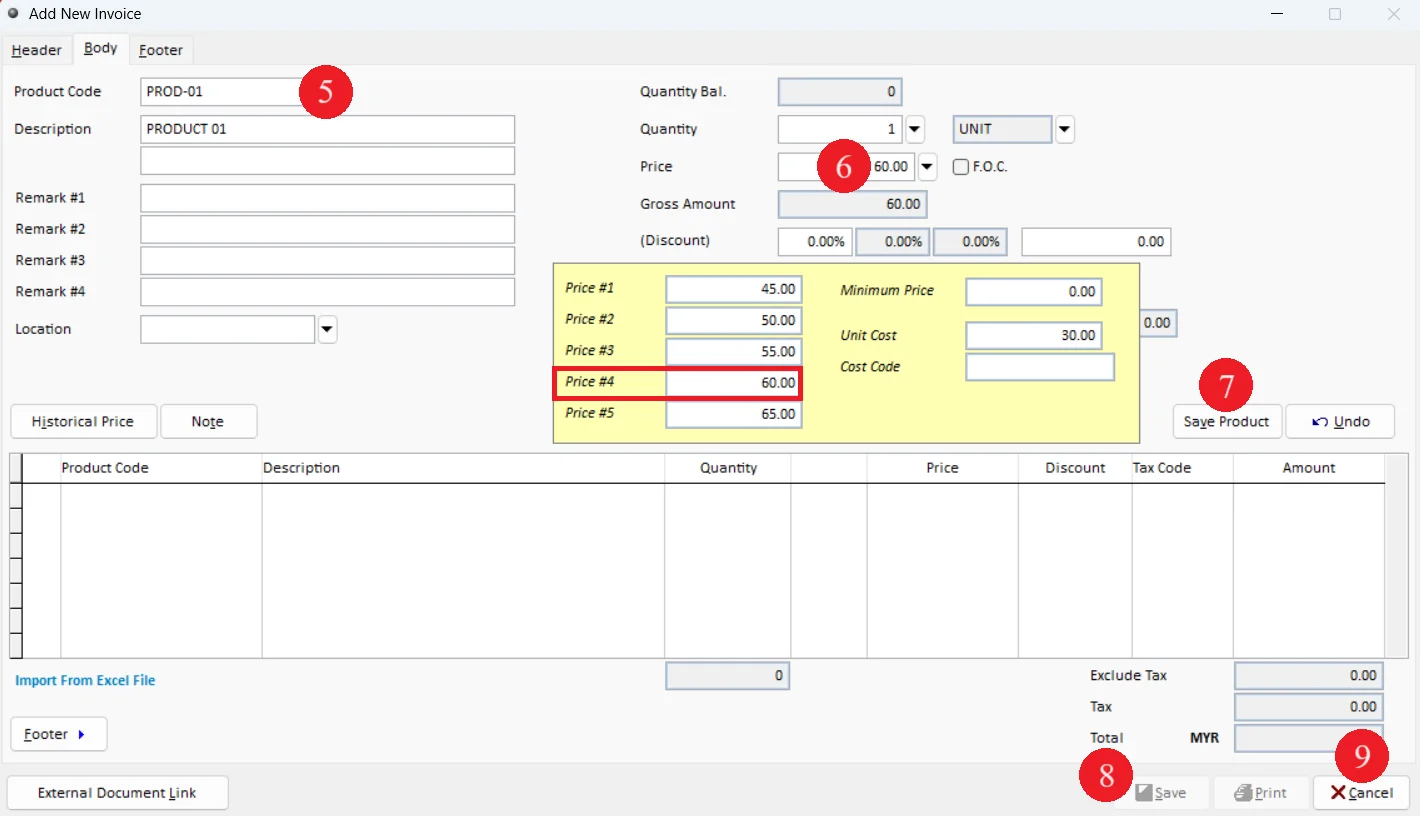
5. In the Body page, select a product
6. The price shown in Price column is reflecting accordingly to the price group maintained in Debtor Maintenance.
7. Click on Save Product button
8. Click on Save button to save the Sales Invoice
9. Invoice screen will then refresh to allow entry of new transaction. Click on Cancel button to exit