
What can we help you with?


The main purpose is allow system prompt a notification message to remind user a specific debtor has reach the credit limit and block user from issuing invoices to the debtor until payment has been made.
Step 1: Enable credit limit function
Step 2: Set debtor credit limit
Step 3: Issue sales invoice
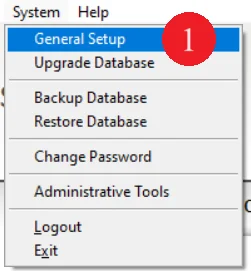
1. Go to System and select General Setup
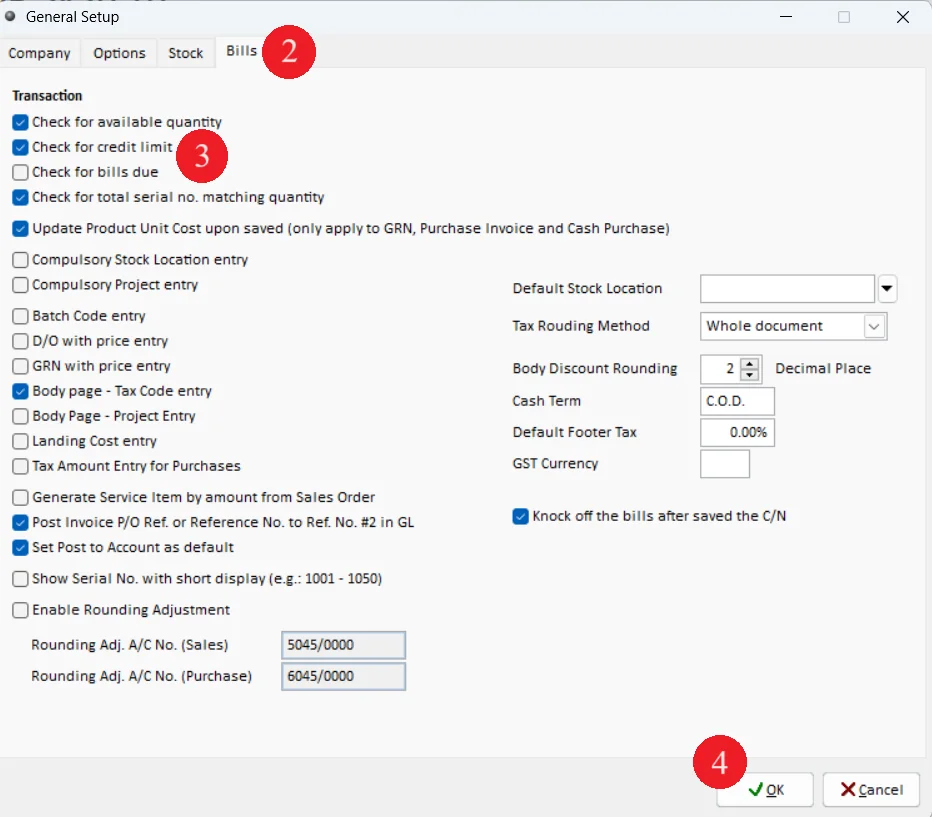
2. Go to Bills Tab
3. Tick on Check for credit limit
4. Click on OK
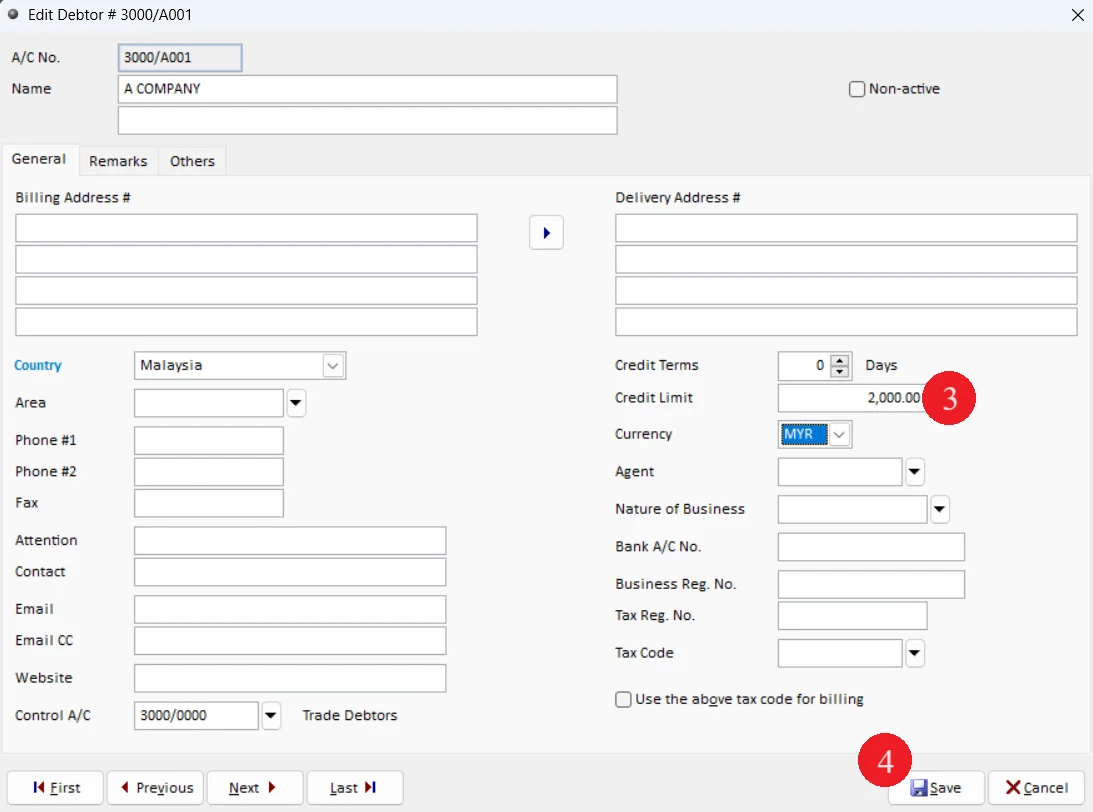
Table 1: Set credit limit for debtor account
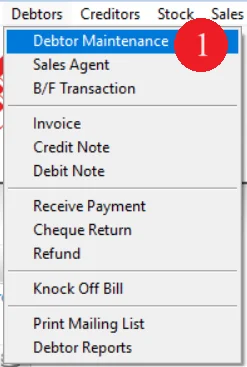
1. Go to Debtor then Debtor Maintenance
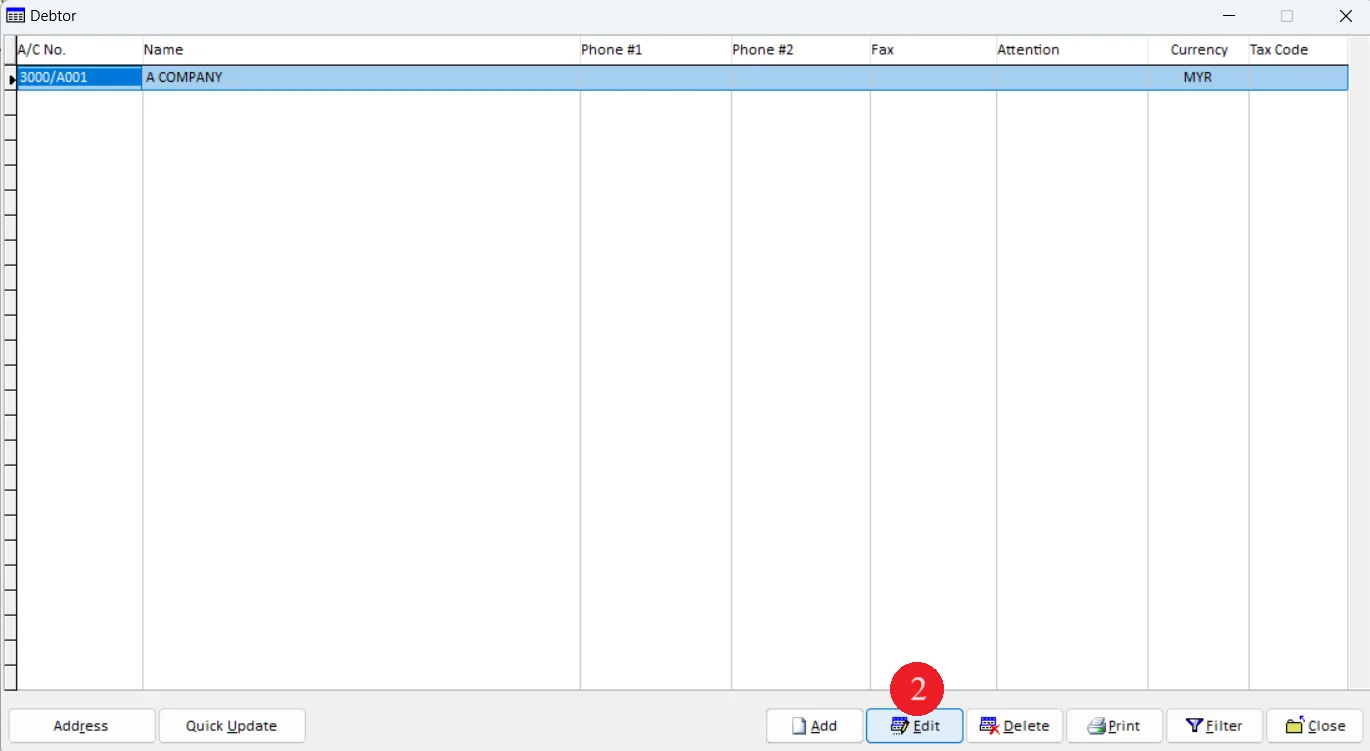
2. Select a debtor according to Table 1 then click on Edit button
3. Enter credit limit
4. Click on Save button
3.1 Enter sales invoice (for billing)
Table 2: Enter sales invoice (for billing side)
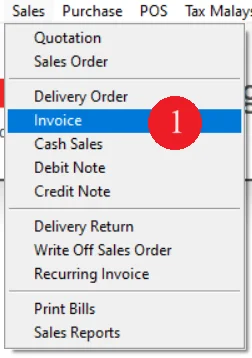
1. Go to Sales and select Invoice
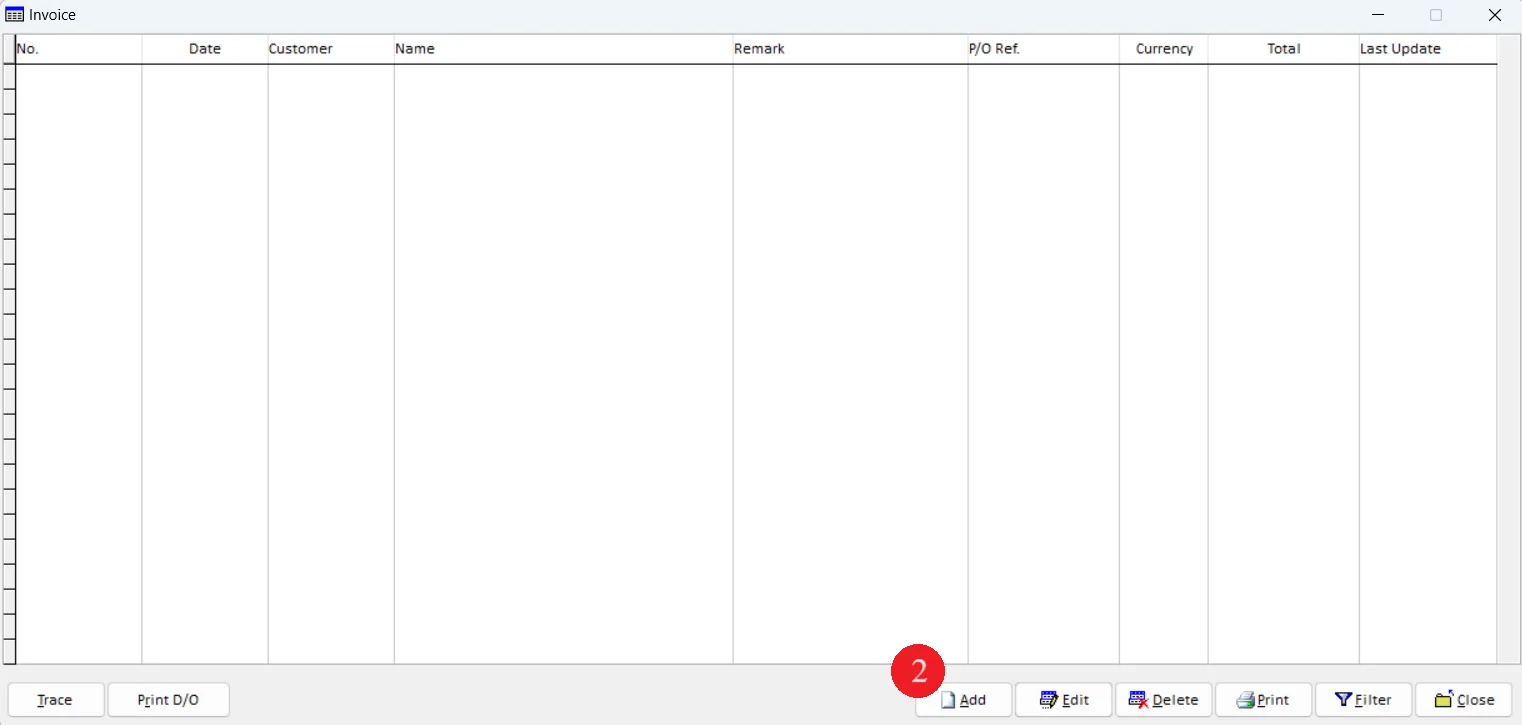
2. Click on Add button
3. Enter Header data according to Table 2
4. Click on Body button
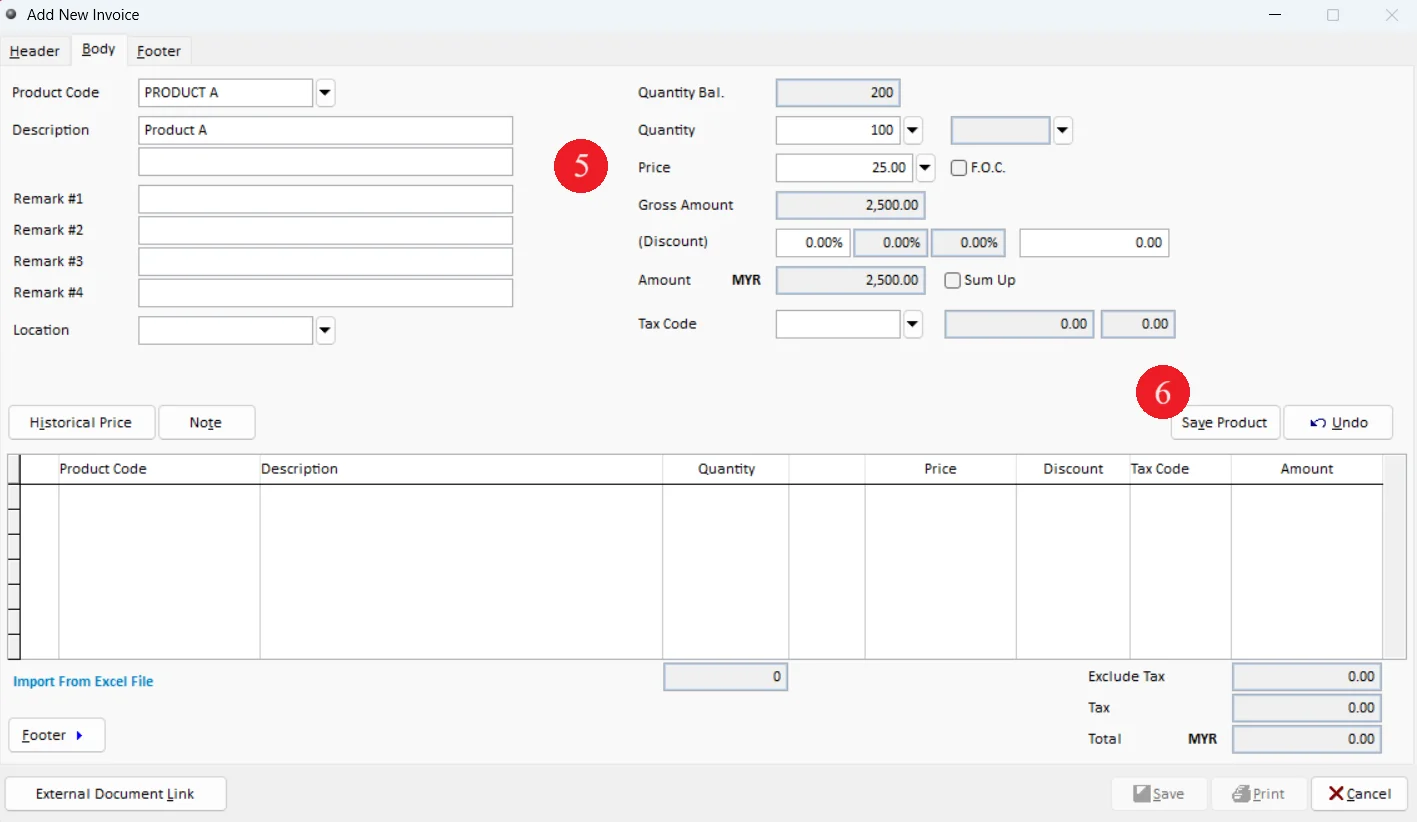
5. Continue enter Body data according to Table 2
6. Click on Save Product
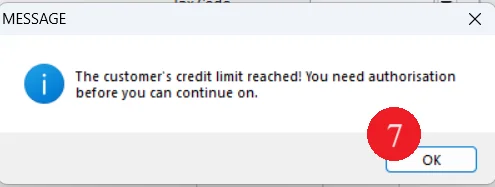
7. System prompt message inform user credit limit reached. Click on OK button
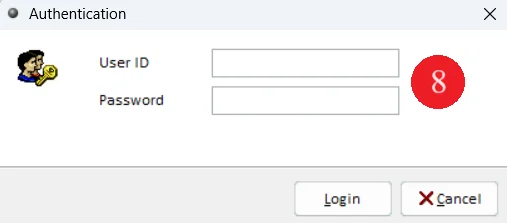
8. System will not allowed user to save this sales invoice
9. To allow customer exceed credit limit for this bill, enter
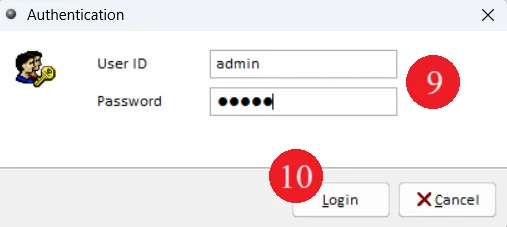
User ID : admin
Password : admin
10. Click on Login button
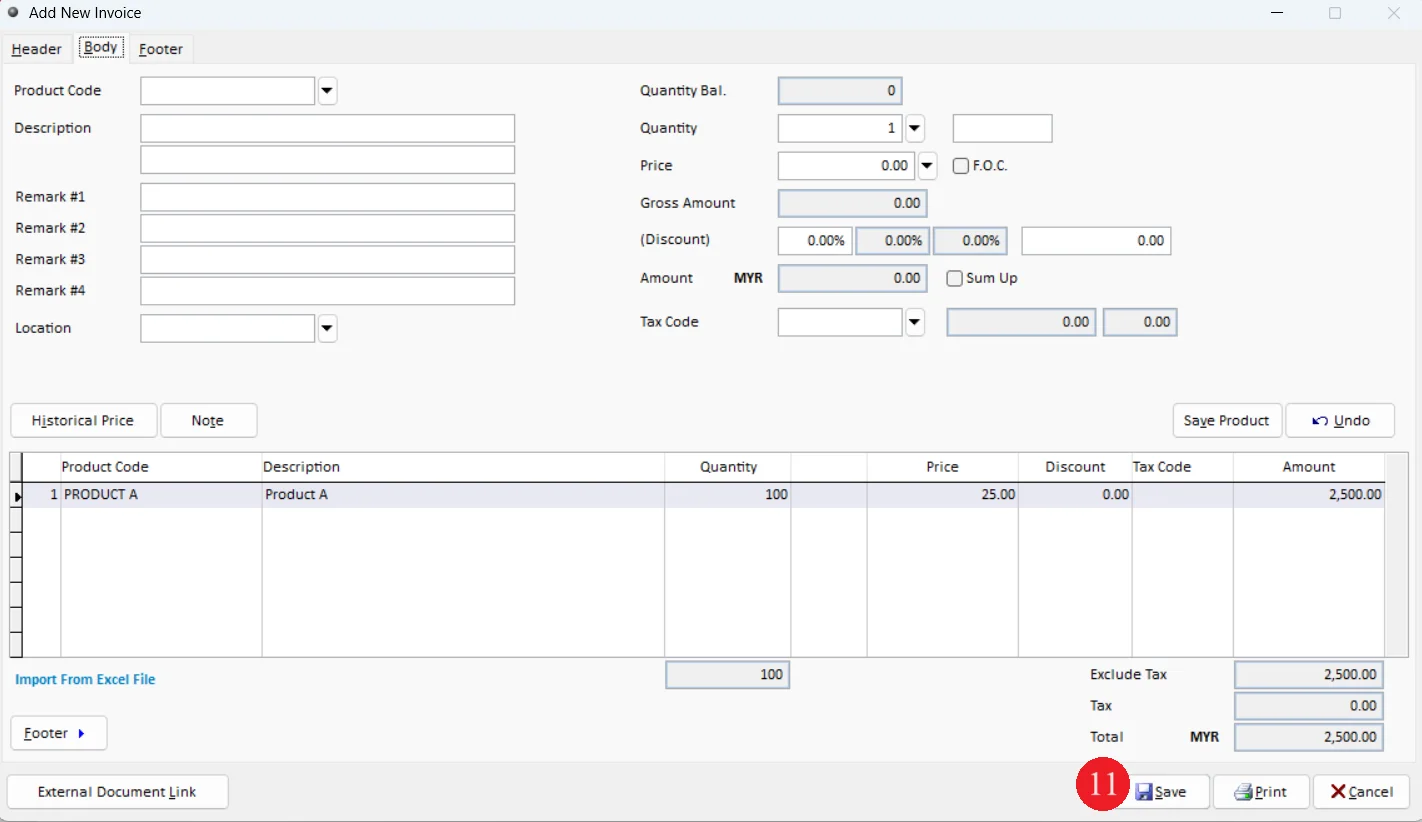
11. System shown the transaction, click on Save button
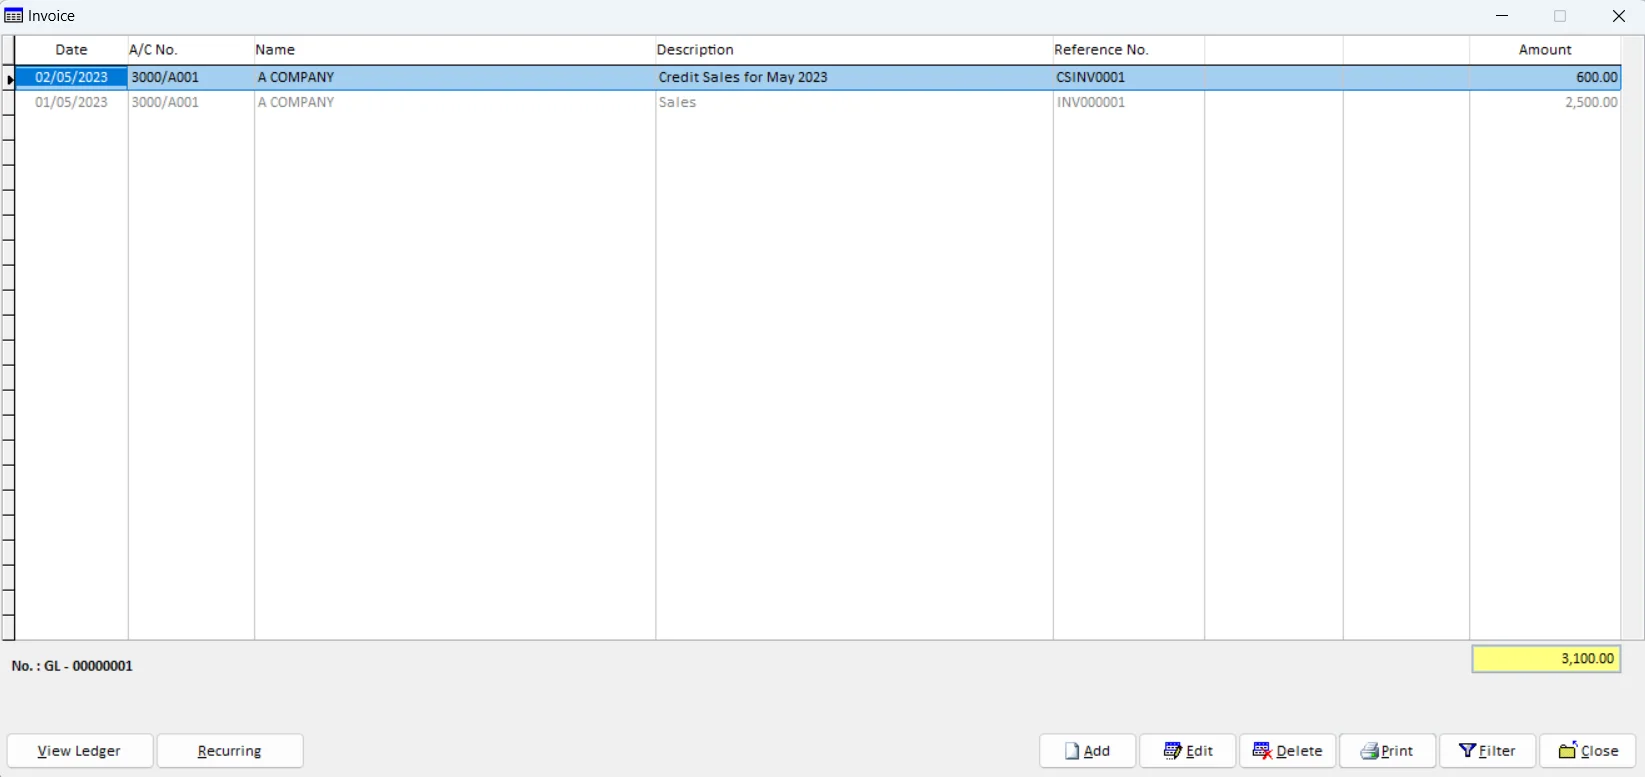
3.2 Enter sales invoice (for accounting)
Table 3: Enter creditor purchase invoice
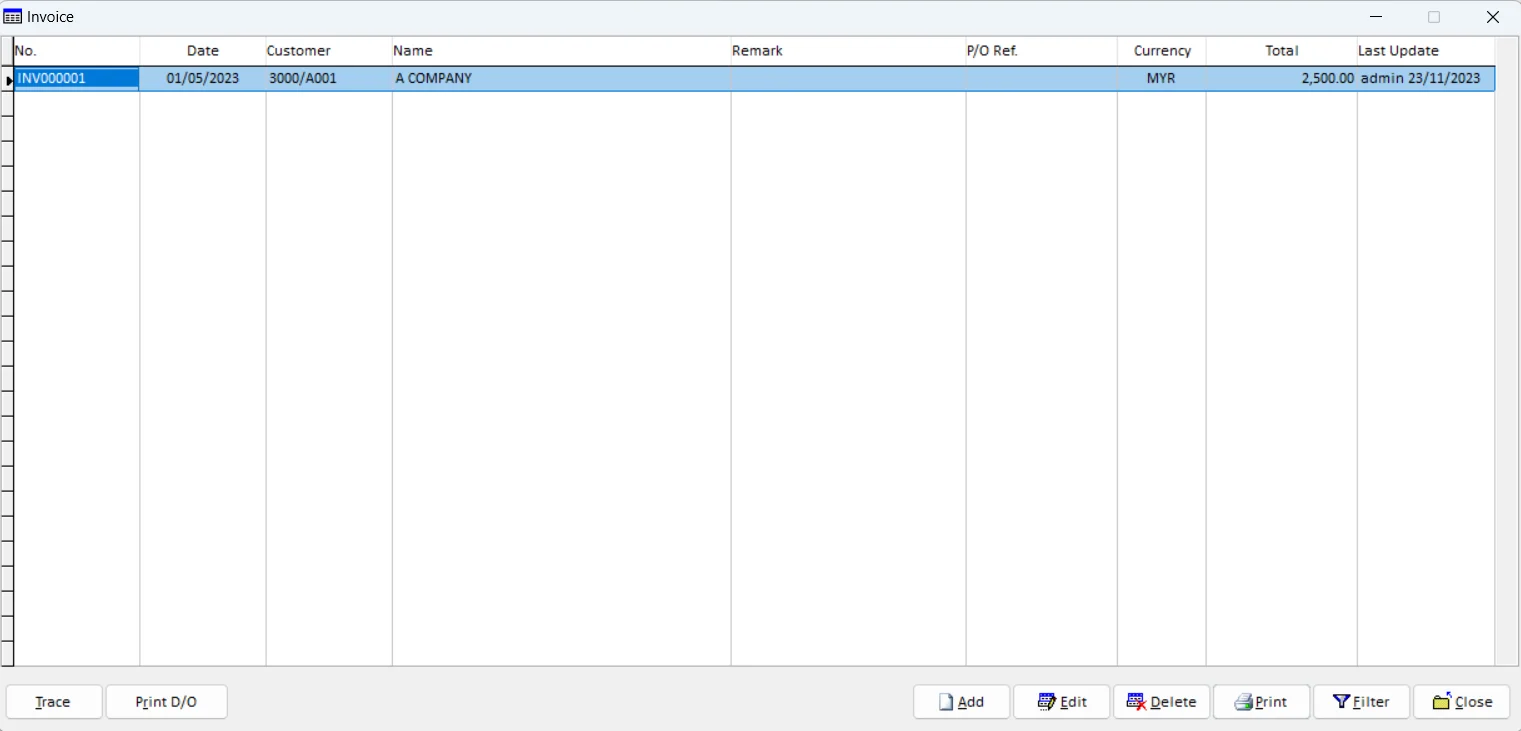
1. Go to Debtor and select Invoice
2. Click on Add button
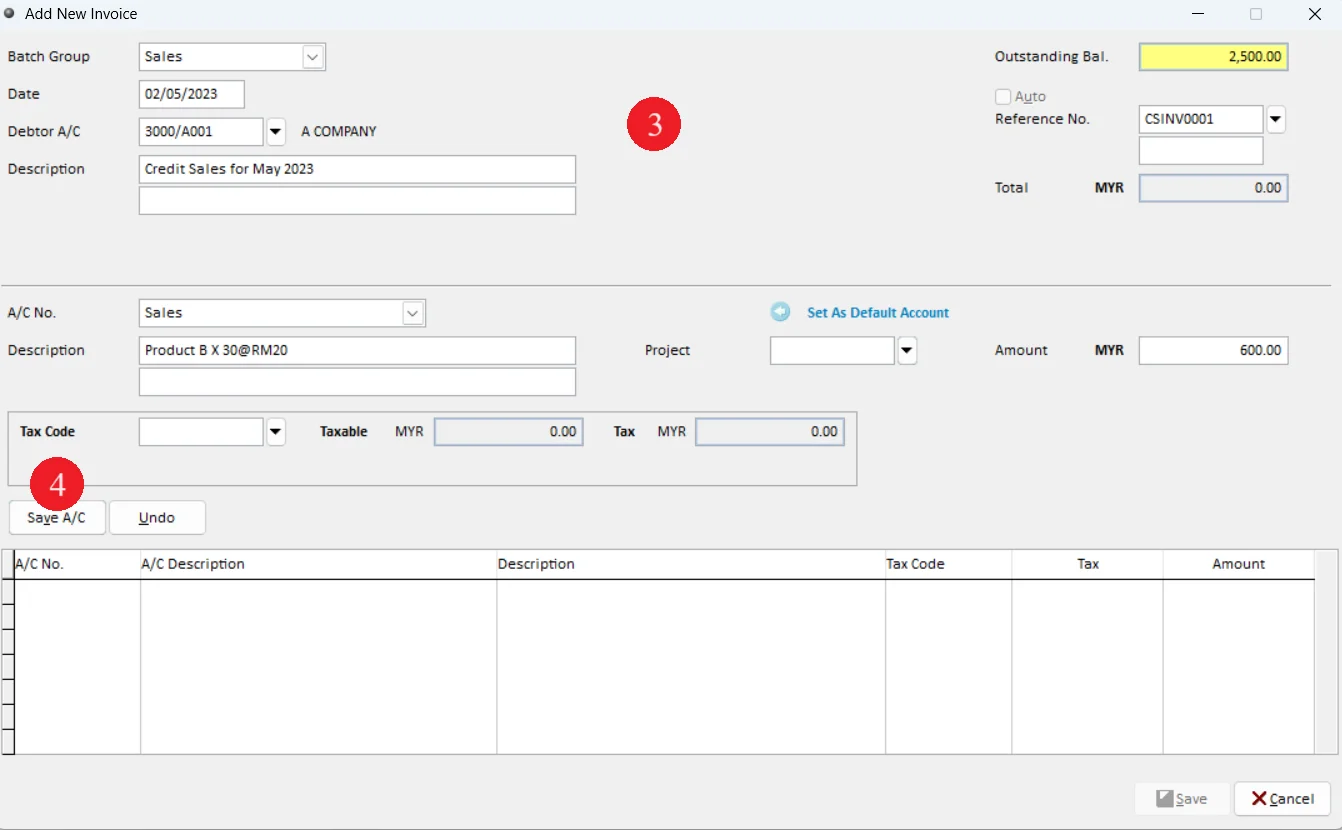
3. Enter transaction according to Table 3
4. Click on Save A/C button
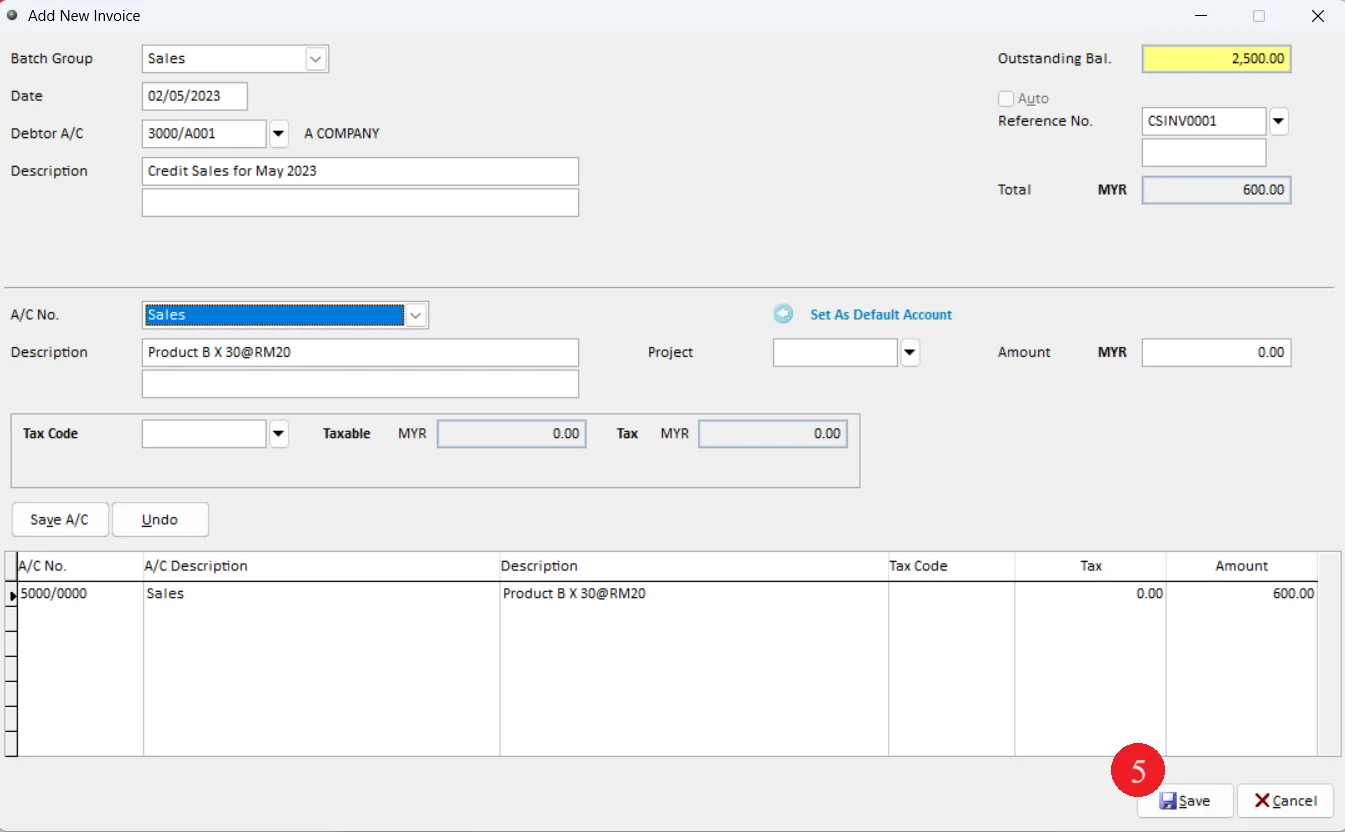
5. Click on Save button
6. System prompt a message notify user creditor has reached its credit limit. Then, click OK button