How to Add New Receive Payment?
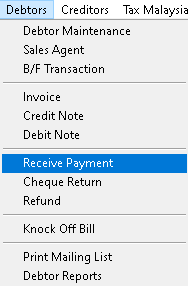
1. Go to Debtors > Receive Payment
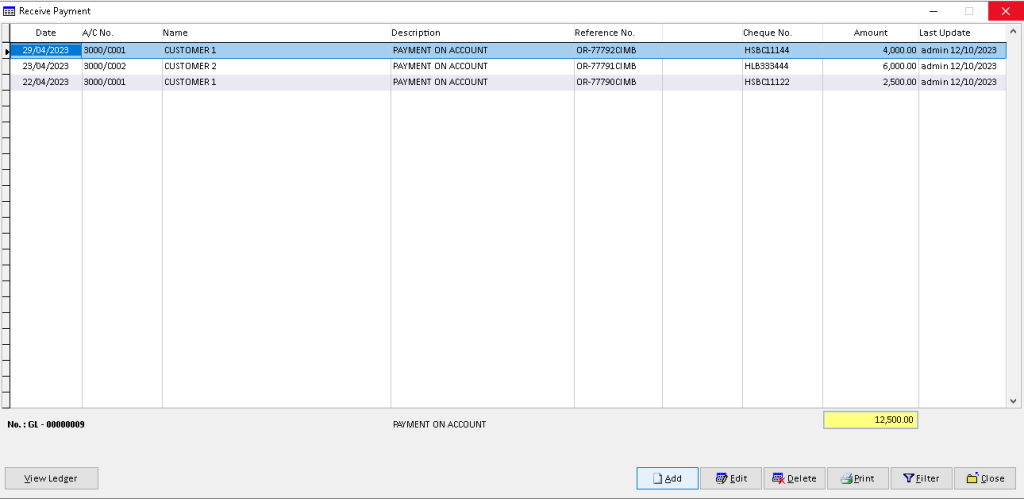
2. Click > Add button
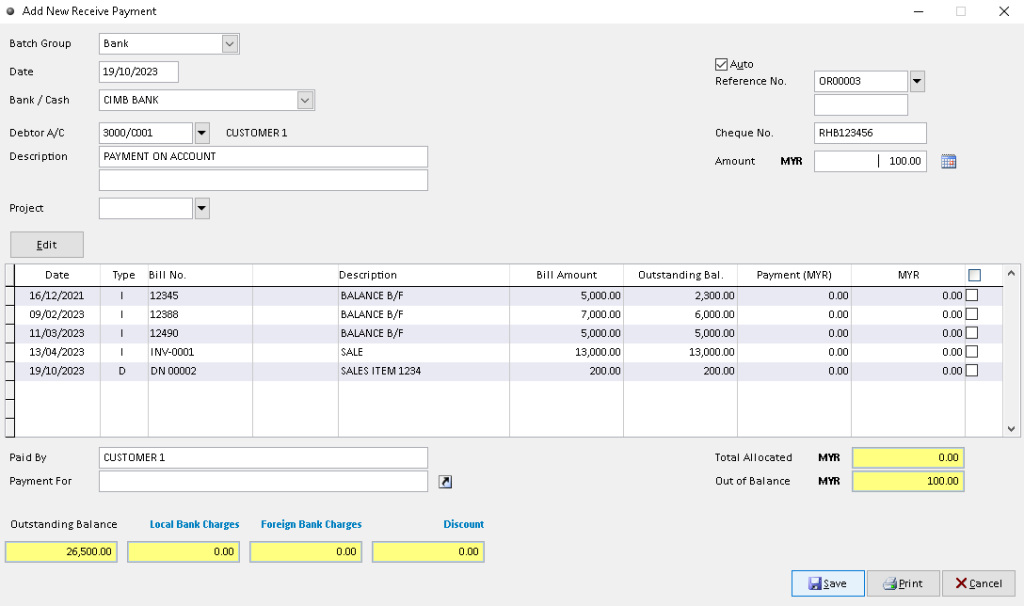
3. Fill the required data, use dropdown button to find related data. Then click > Save button to save it. Finish
How to Edit Receive Payment?
1. Go to Debtors > Receive Payment

2. Click a record that want to edit. Then, click > Edit button
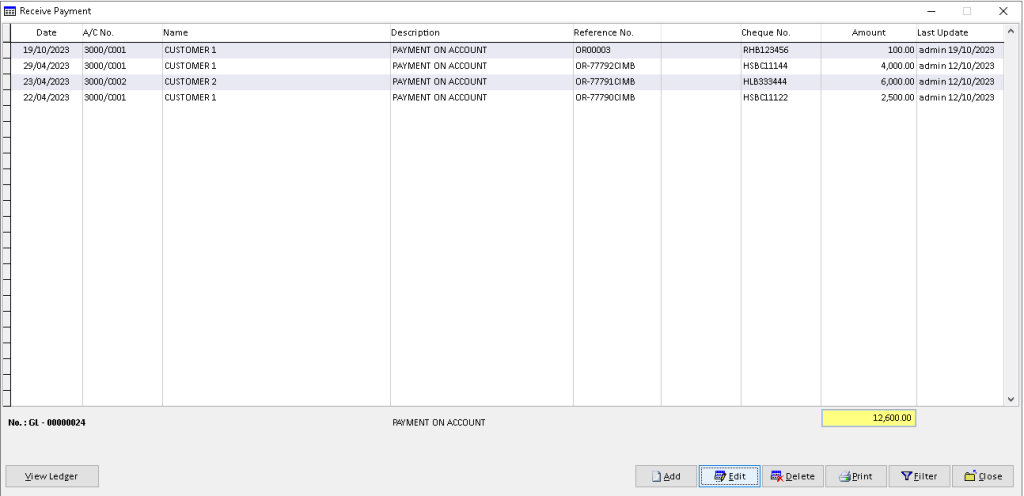
3. Edit/ change the data that want to edit directly. Then click > Save button to save it. Finish
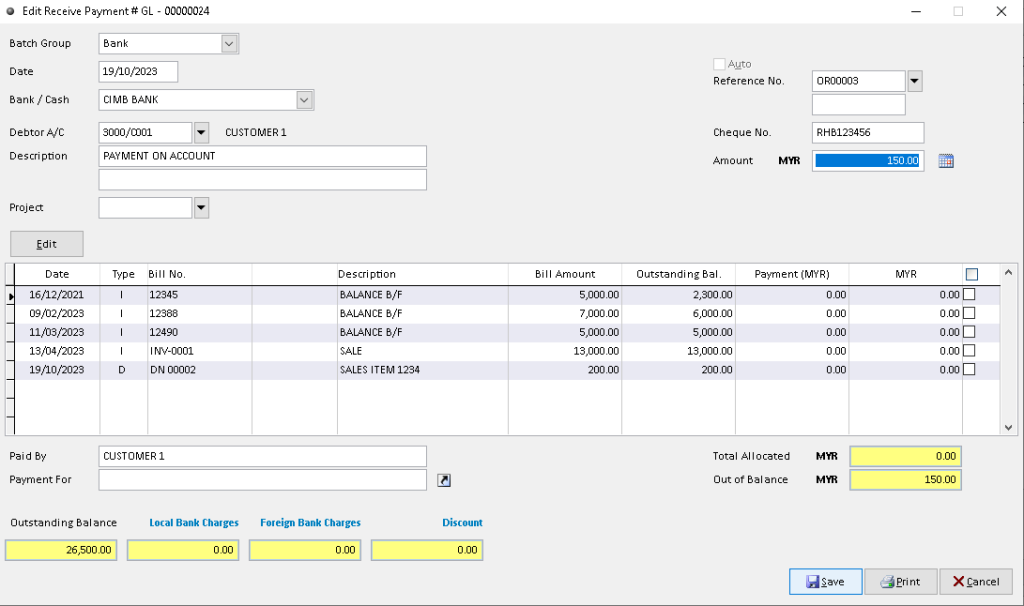
How to Delete Receive Payment?
1. Go to Debtors > Receive Payment

2. Click a record that want to delete. Then click > Delete button
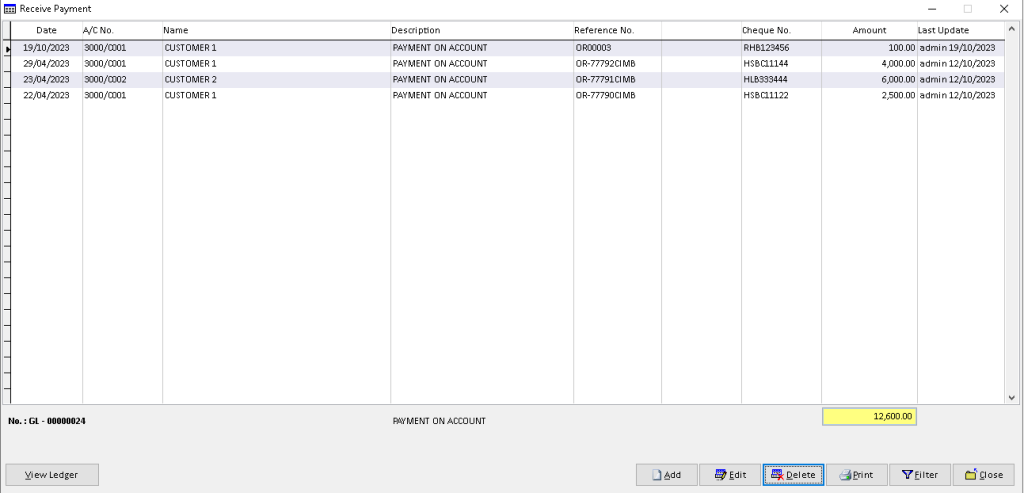
3. Click > Yes button
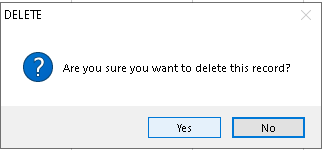
4. Click > OK button. Finish
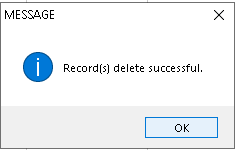
How to View Ledger Receive Payment?
1. Go to Debtors > Receive Payment

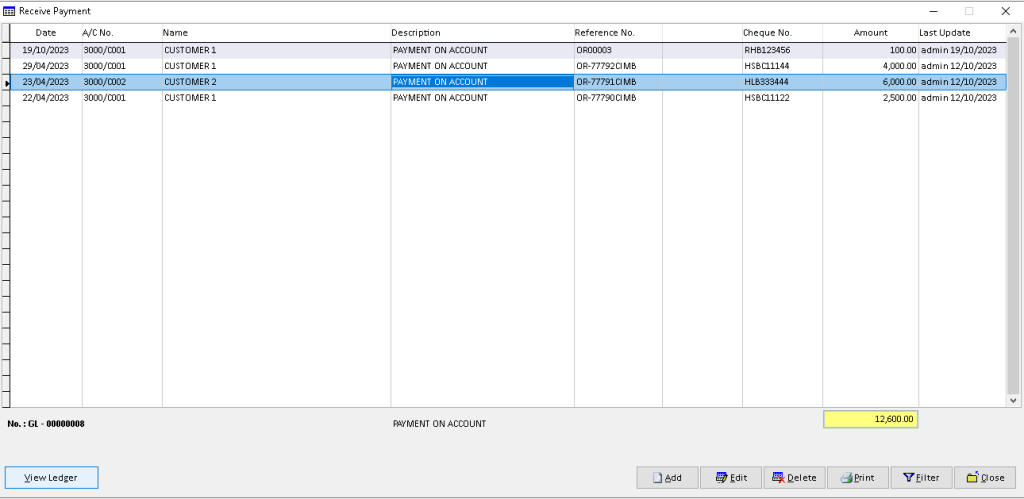
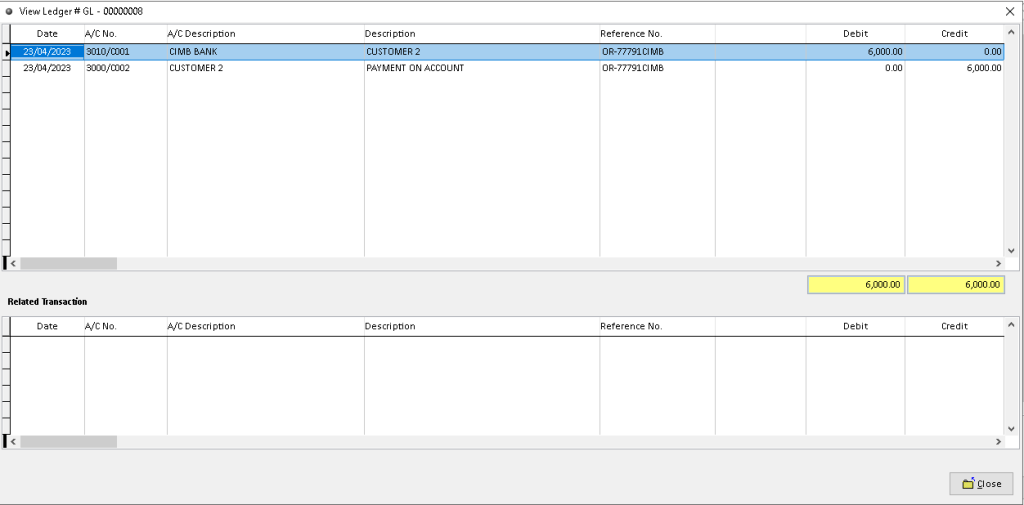
2. Click a record that want to view. Then click > View Ledger button
3. You can view the transaction record that has been made by Debtor. Finish
How to Print Receive Payment?
1. Go to Debtors > Receive Payment

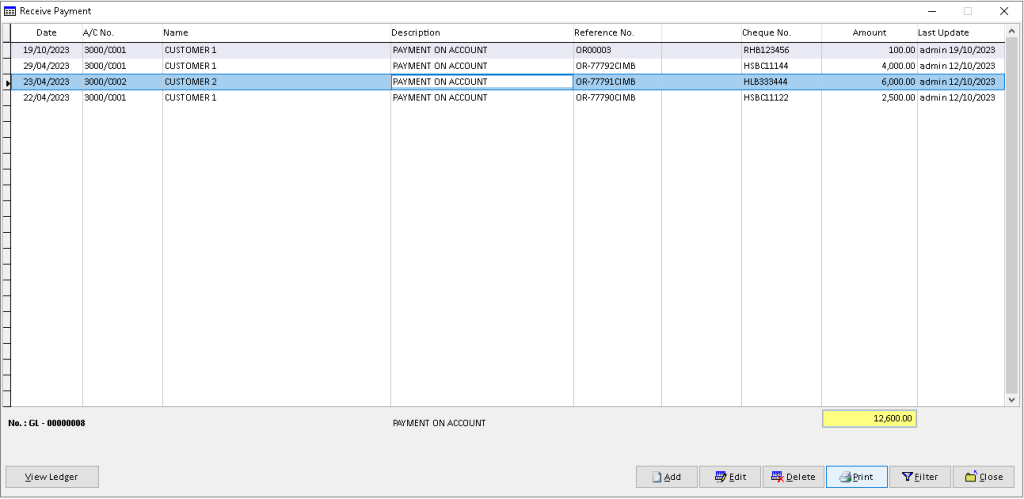
2. Click a record that want to print. Then click > Print button
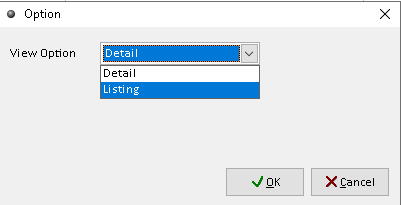
3. Click > dropdown button , select the associated view option, then click > OK button to proceed.
4. Click > Print button (it may in different interface according to view option)
Click > Manage to Edit/ Add/ Delete and Set Default for receipt format (option)
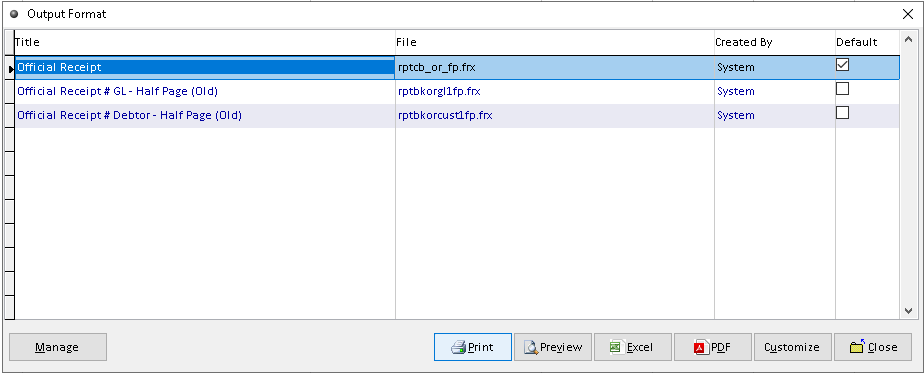
5. Click > Print button to proceed (adjust printer on your own setting). Finish
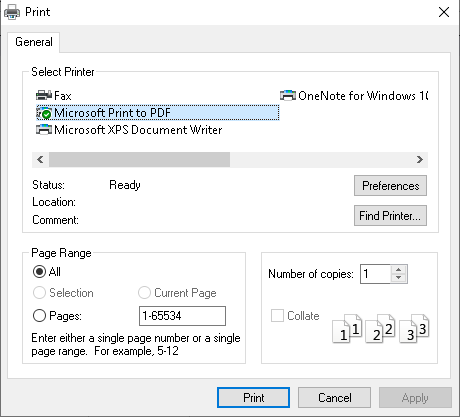
How to Preview Receive Payment?
1. Go to Debtors > Receive Payment

2. Click a record that want to preview. Then click > Print button

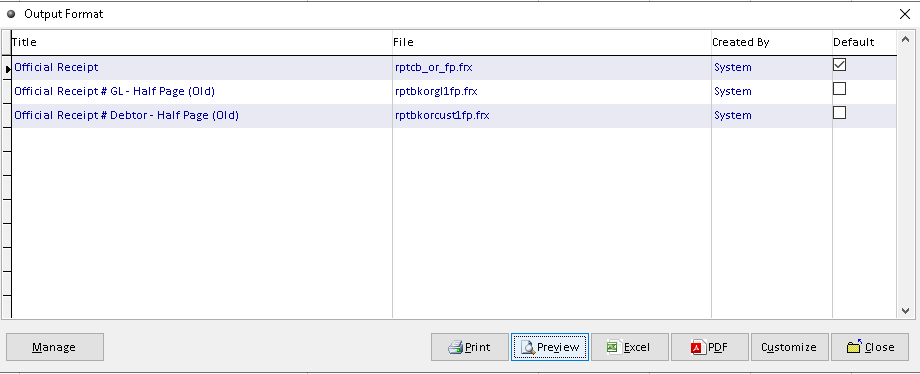
3. Click > dropdown button , select the associated view option, then click > OK button to proceed.

4. Click > Preview button (it may in different interface according to view option)
Click > Manage to Edit/ Add/ Delete and Set Default for receipt format (option)
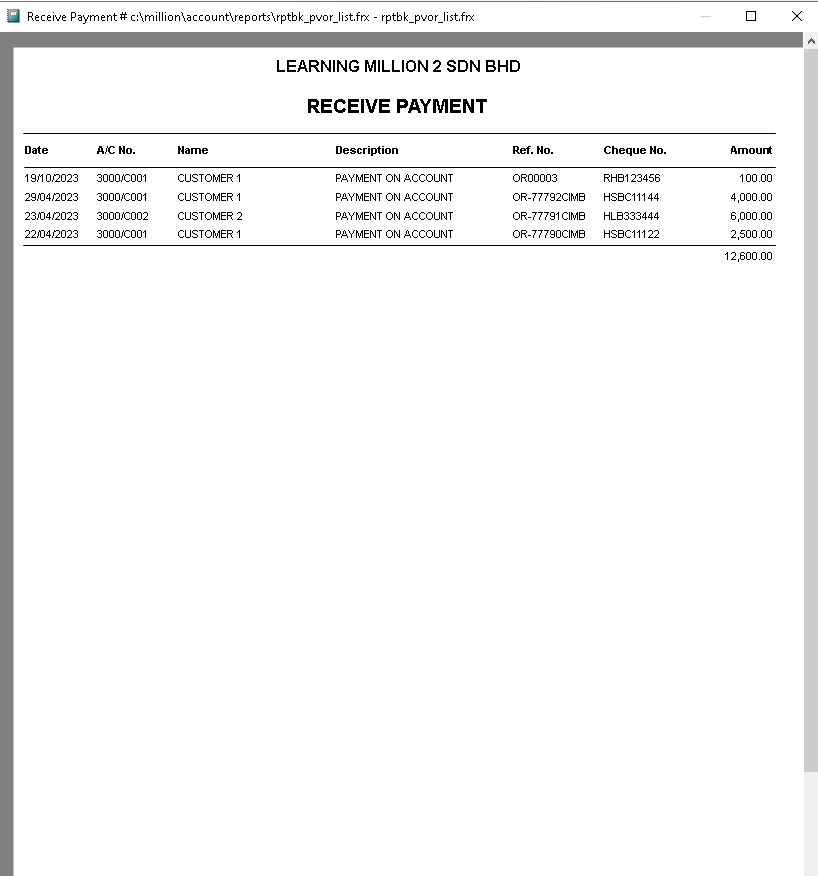
5. The actual output of Payment Receive statement. Finish
(View Option > Details)
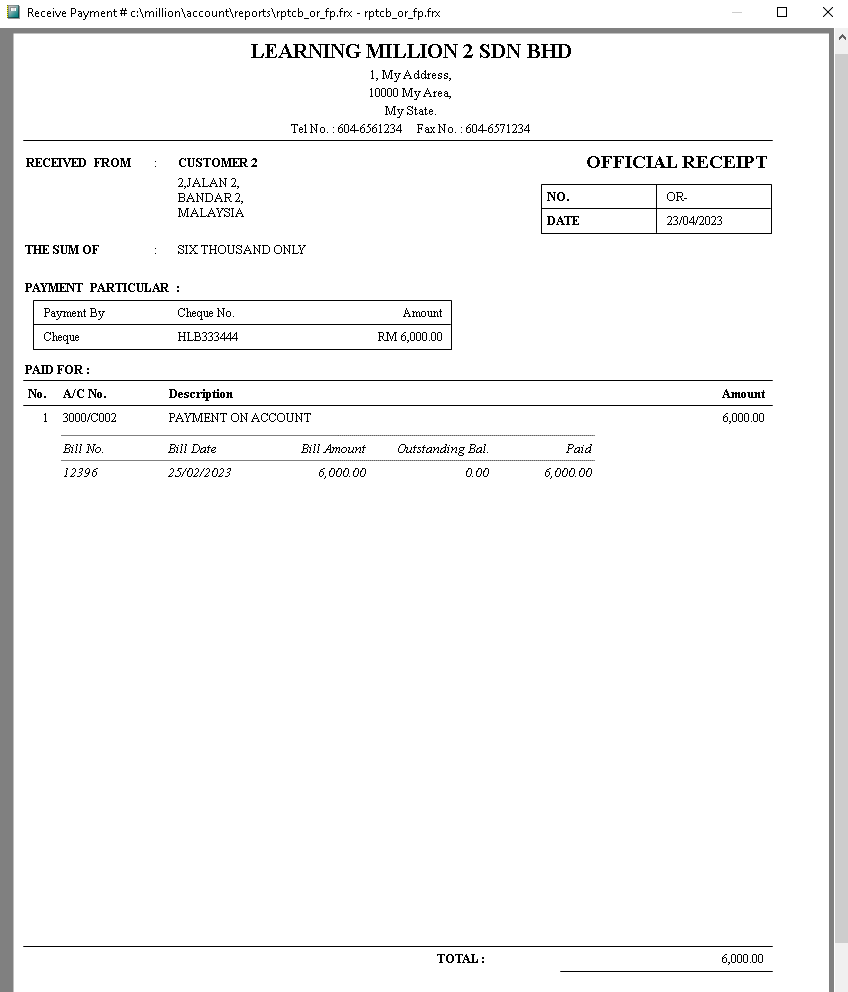
(View Option > Listing)
How to Export Receive Payment to Excel?
1. Go to Debtors > Receive Payment

2. Click a record that want to export. Then click > Print button

3. Click > dropdown button , select the associated view option, then click > OK button to proceed.

4. Click > Excel button (it may in different interface according to view option)
Click > Manage to Edit/ Add/ Delete and Set Default for receipt format (option)
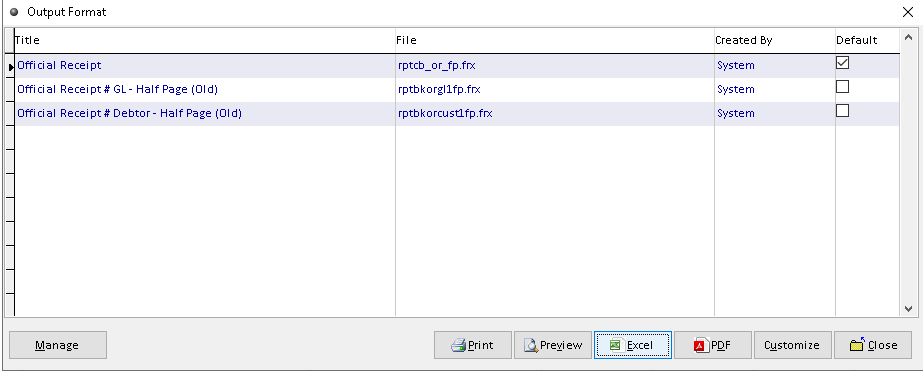
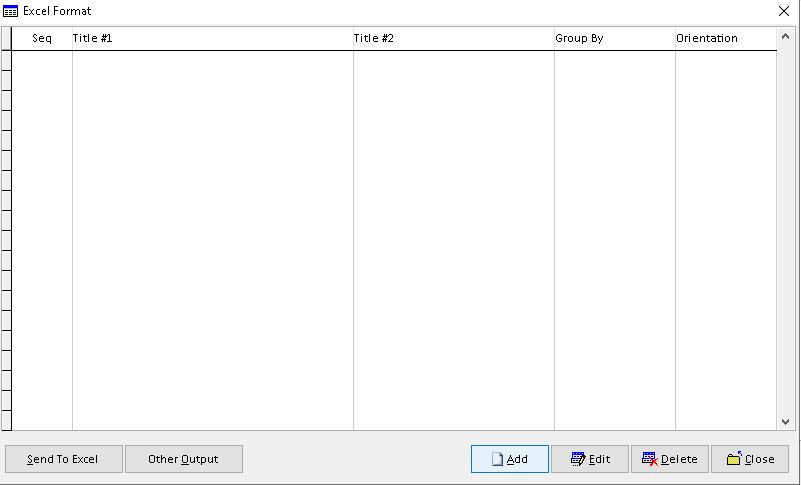
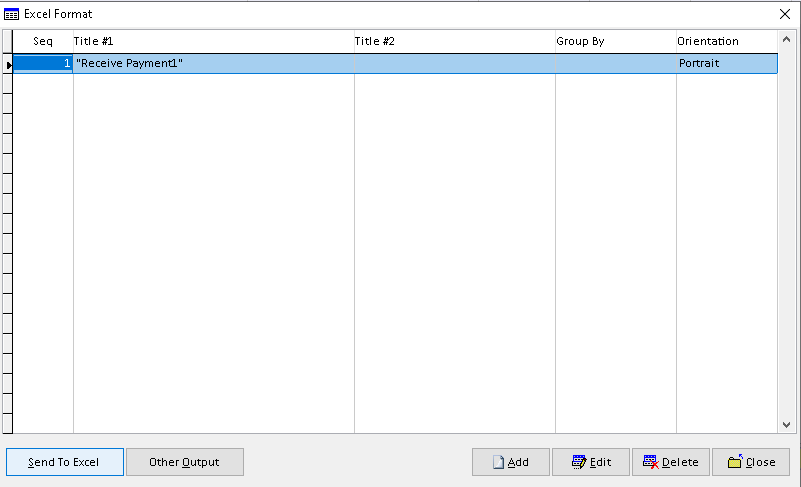
5. Click > Add button
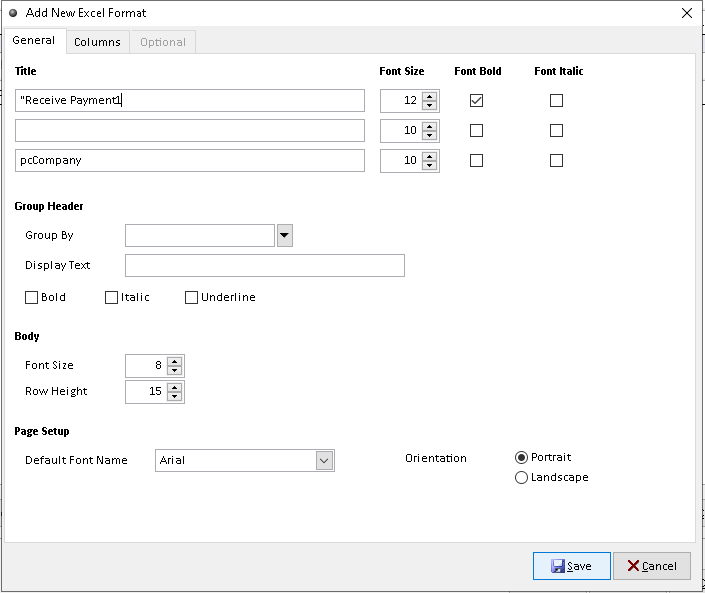
6. Adjust the setting and information based on your setup, then click > Save button
7. Click > Send To Excel button to export
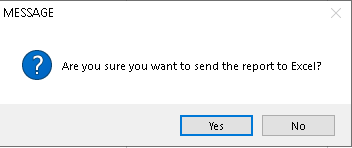
8. Click > Yes button to confirm. Finish
How to Export Receive Payment to Pdf?
1. Go to Debtors > Receive Payment

2. Click a record that want to export. Then click > Print button

3. Click > dropdown button , select the associated view option, then click > OK button to proceed.

4. Click > PDF button (it may in different interface according to view option)
Click > Manage to Edit/ Add/ Delete and Set Default for receipt format (option)
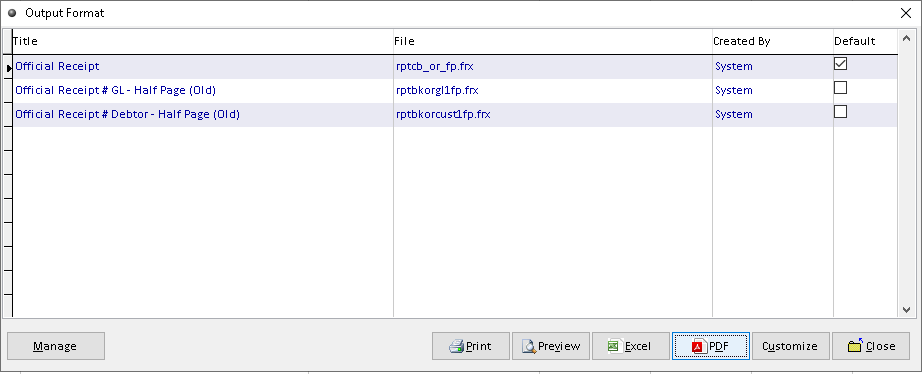
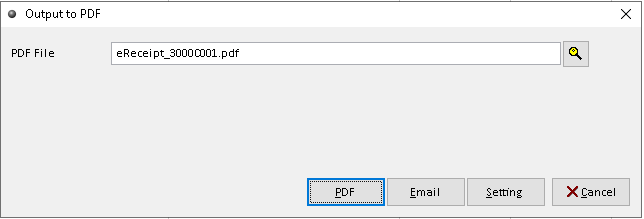
5. Click > search logo to choose folder as place to export. Then, click > PDF button to direct generate.
Click > Email to send direct to other organization (option)
Click > Setting for Advanced features (option)
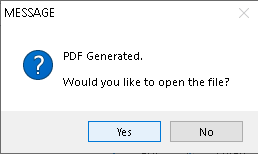
6. Export PDF Receive Payment successful, click > Yes /No button (optional). Finish
How to Customize Receive Payment?
1. Go to Debtors > Receive Payment

2. Click a record that want to custom. Then click > Print button

3. Click > dropdown button , select the associated view option, then click > OK button to proceed.

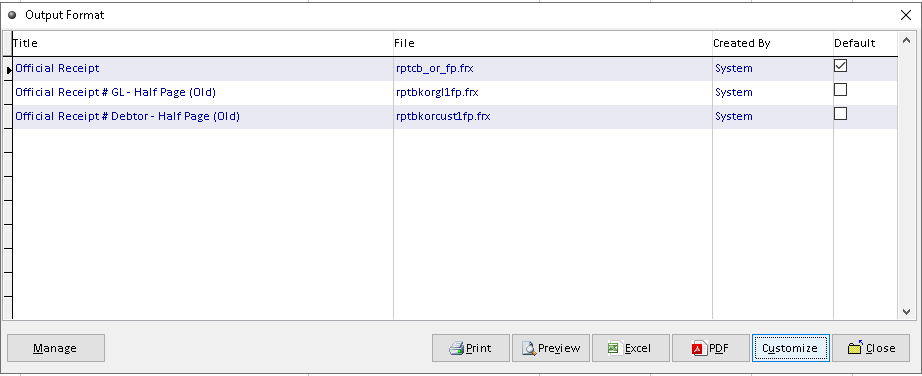
4. Click > Customize button (it may in different interface according to view option)
Click > Manage to Edit/ Add/ Delete and Set Default for receipt format (option)
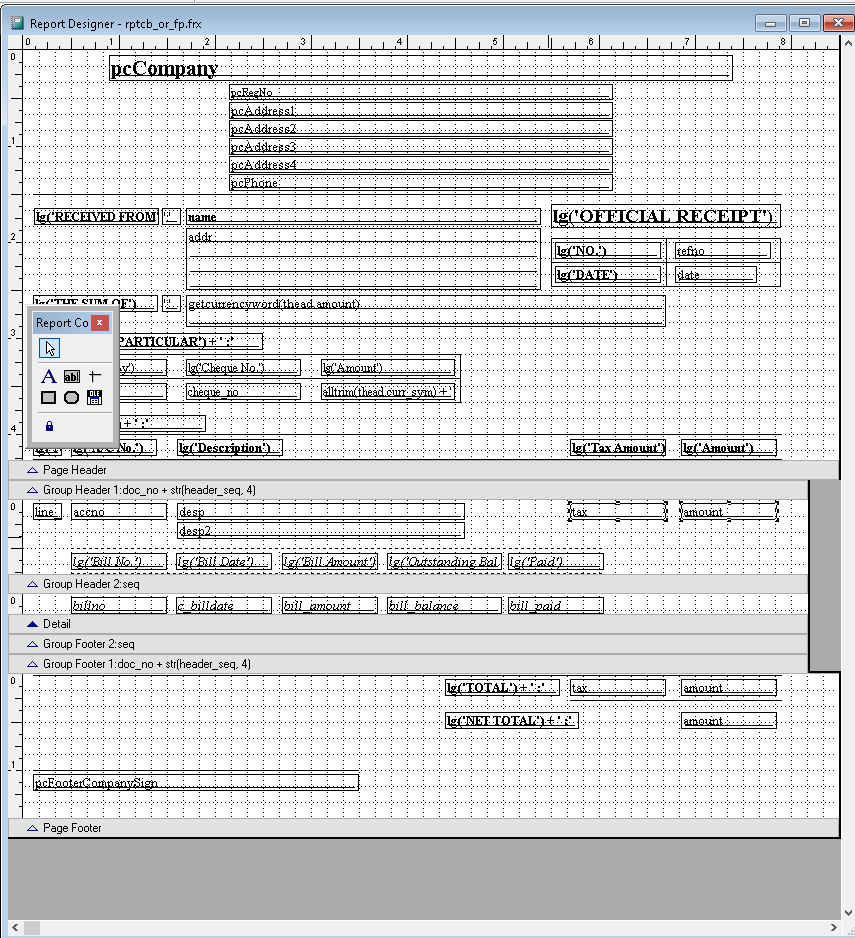
5. You can custom the design you want based on the available tools. The default the element can be drag by click it (the interface maybe different due to view option)
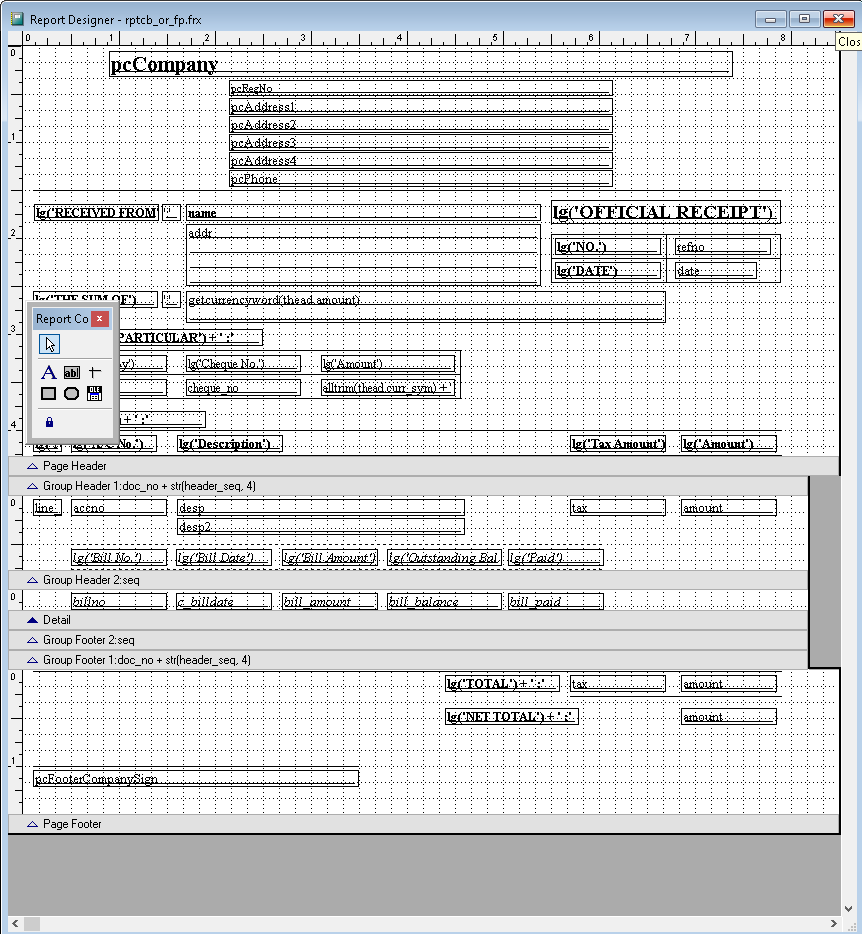
6. After completely custom, click > X (close window)
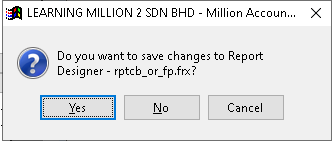
7. Click > Yes to save customized design report. Finish
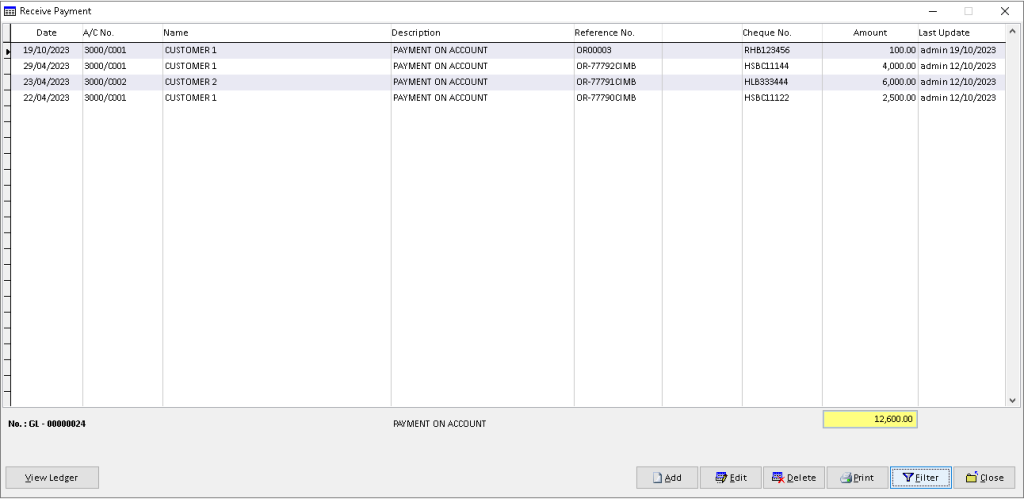
How to Filter Receive Payment?
1. Go to Debtors > Receive Payment

2. Click > Filter button
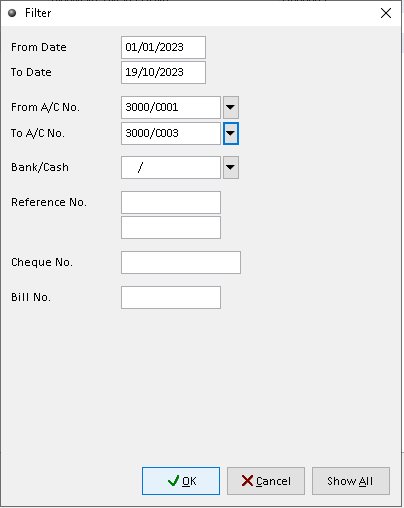
3. Use > dropdown button to choose the Debtor and other associated data, then click > OK to filter the credit records.
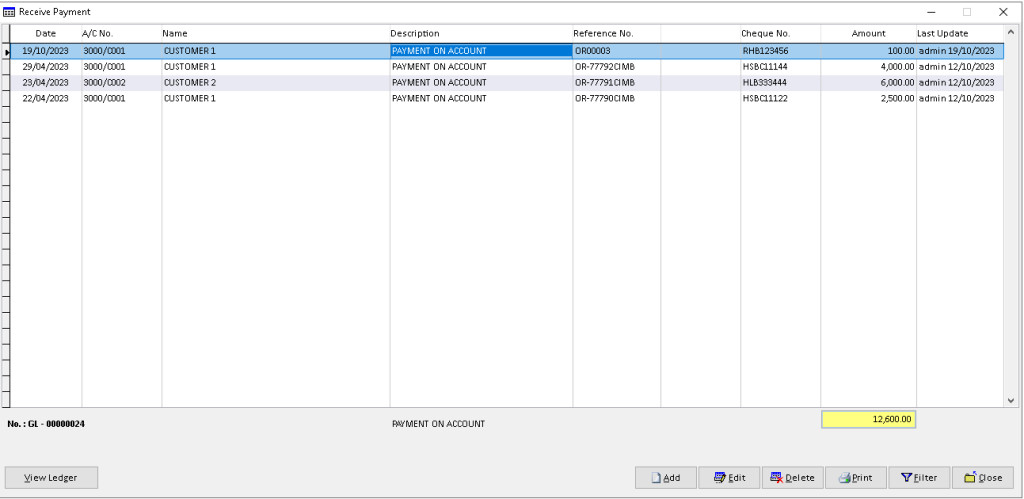
4. The filtered records will display here. Finish.
-
Million Account & Stock Help File
-
- Product
- Group
- Sub Group
- Brand
- Comment
- Recommended Price
- Promotional Discount
- Stock Location
- Opening Stock
- Serial No.
- Stock Receive
- Stock Issue
- Stock Adjustment
- Stock Transfer
- Stock Assembly
- Stock Enquiry
- Stock Reports
- Show Remaining Articles ( 2 ) Collapse Articles
-
- Add New Reference Number for Accounting
- Advance Search Function
- Asset Disposal
- Backup Reminder
- Backup Server Database from Workstation
- Bank Charges
- Change Key Code
- Cheque Return and Refund
- Closing Stock Value
- Contra Note
- GL Description
- Import GL Account From Other Company
- Import Item Into Sales Transaction
- Import Transaction Using Excel File
- Maintain Budget
- Process for Purchase Return
- Process for Recurring Invoice
- Credit Limit
- Credit Term
- Formula
- Hide Price Tip
- Hide Unit Cost
- Landing Cost
- Price Group Entry
- Multiple Delivery Address
- Bill of Material (BOM)
- Printing Approval
- Progressive Billing
- Send Invoice By Email
- User Group and Access Right
- Show Remaining Articles ( 15 ) Collapse Articles
-
- Articles coming soon
-
Million Payroll Help File
- Articles coming soon
-
Million Accounting Release Notes
