
What can we help you with?
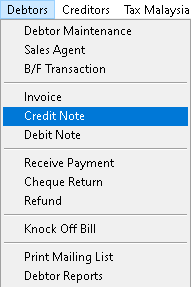


1. Go to Debtor > Credit Note
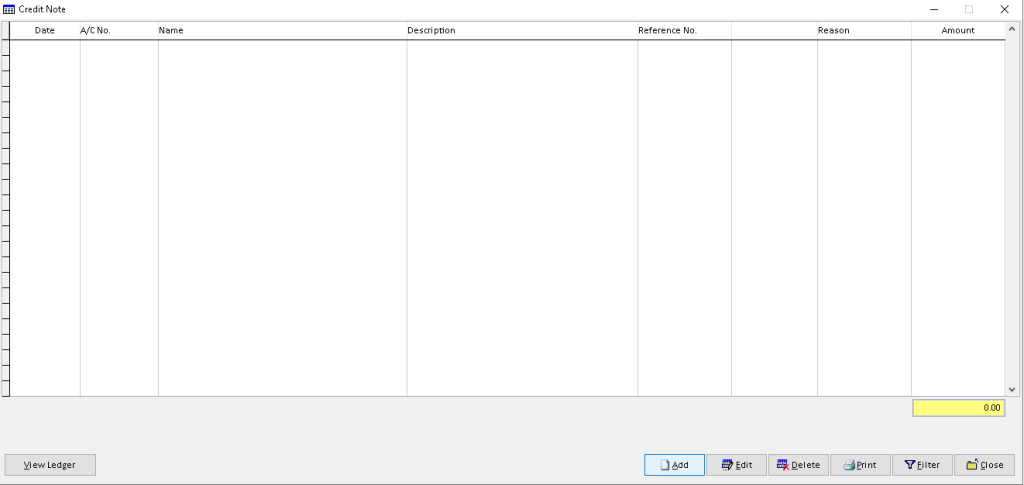
2. Click > Add button
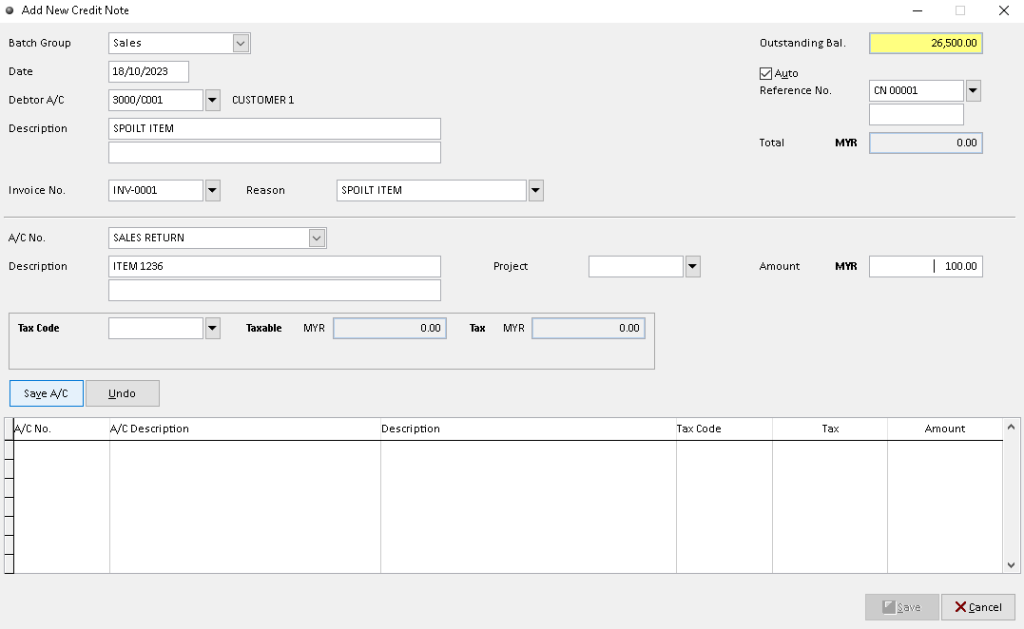
3. Fill the data in blank (use dropdown button to choose object associated), then click > Save A/C button
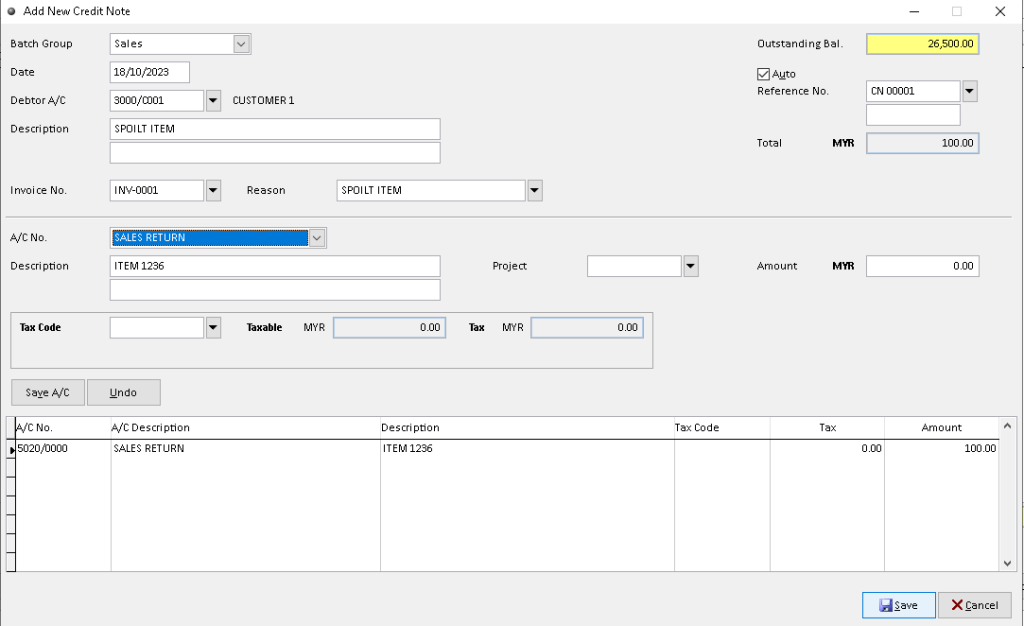
4. After record has available in table, then click > Save button to confirm
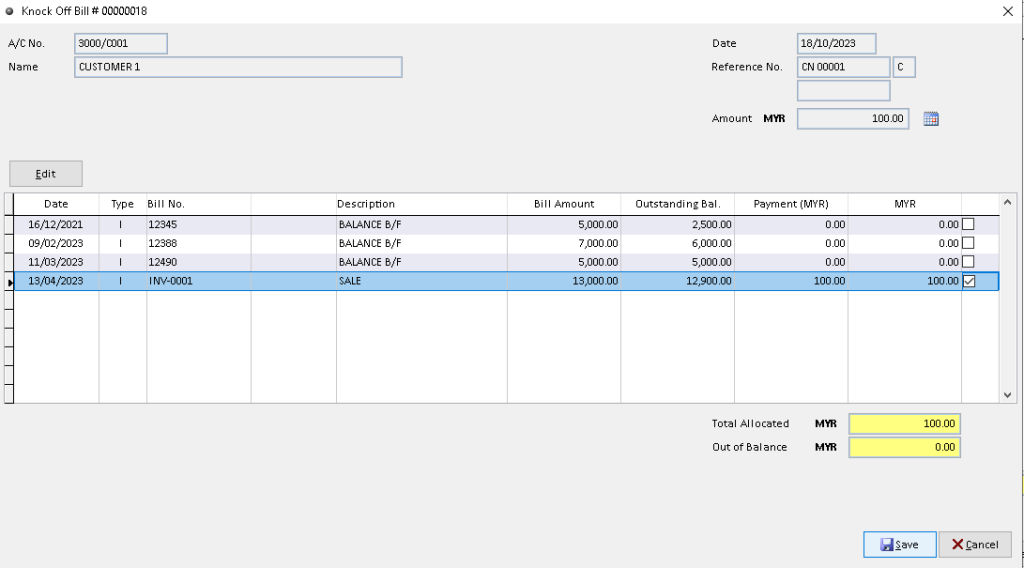
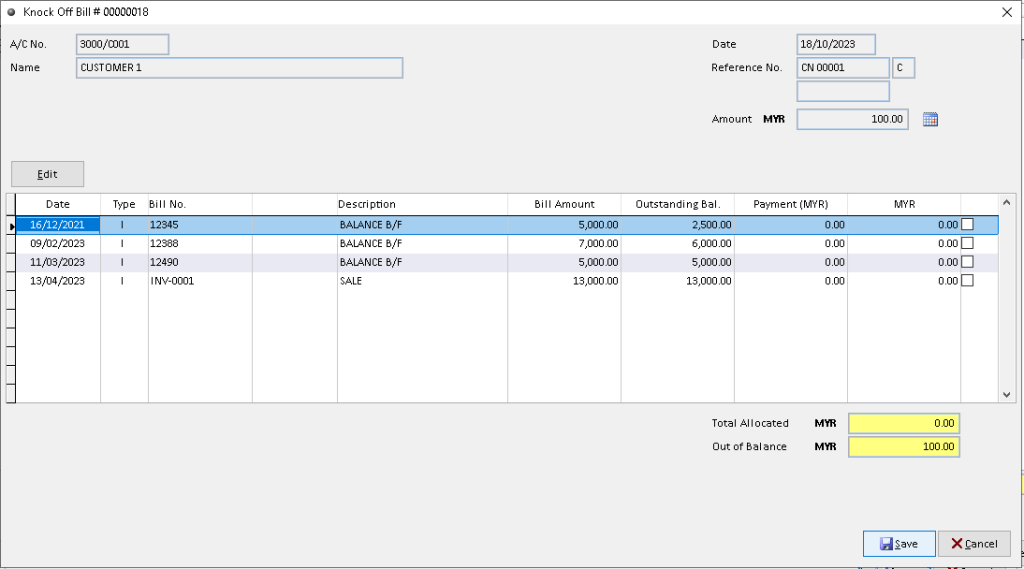
5. Knockoff the associated record by tick the check box, when click > Save button to save completely. Finish
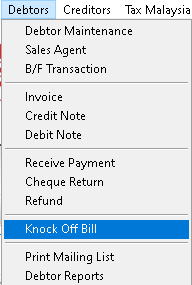
1. Go to Debtors > Knock Off Bill
2. Select a Debtor that want to edit, then click > Edit button
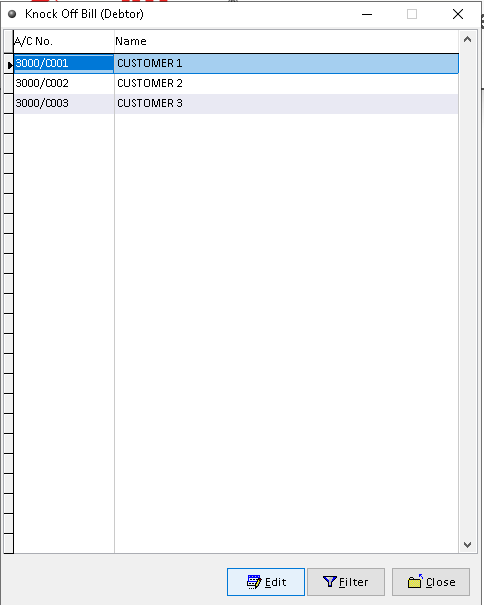
3. Tick the reverse column checkbox for record that want to edit, then click > Reverse button at bottom of window
4. Click > Yes button to confirm
5. Click > OK button to proceed
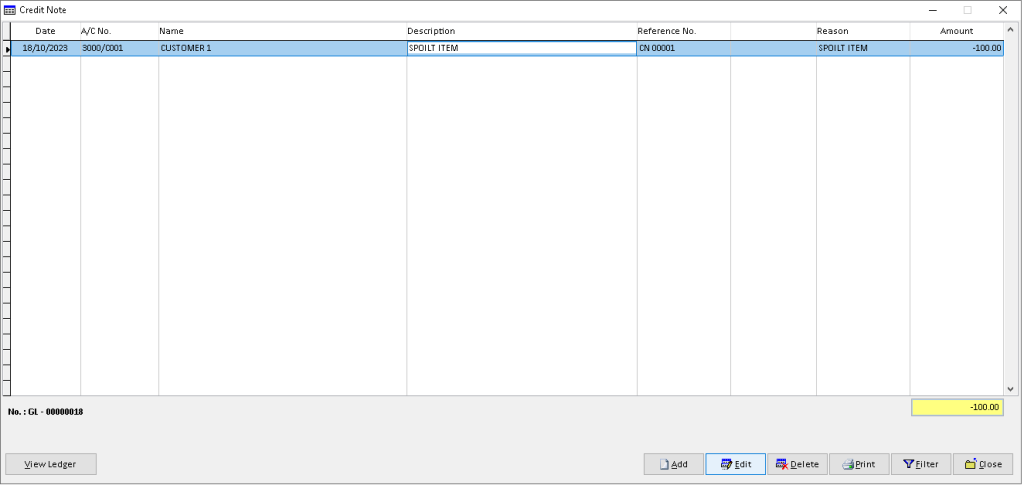
6. Go back to Debtors > Credit Note
7. Click > Edit button
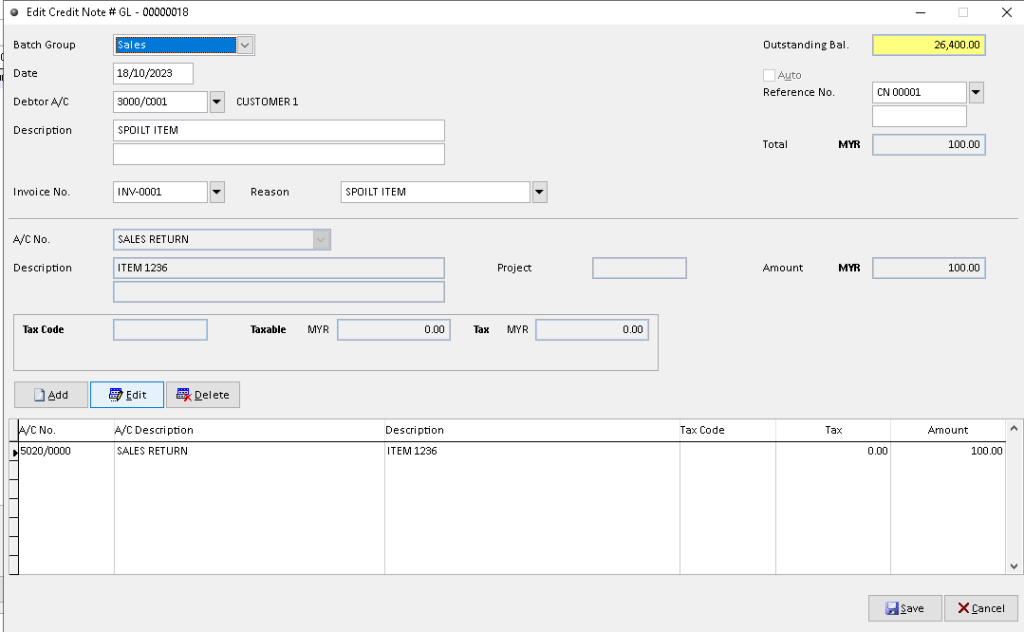
8. Click > Edit button above the table
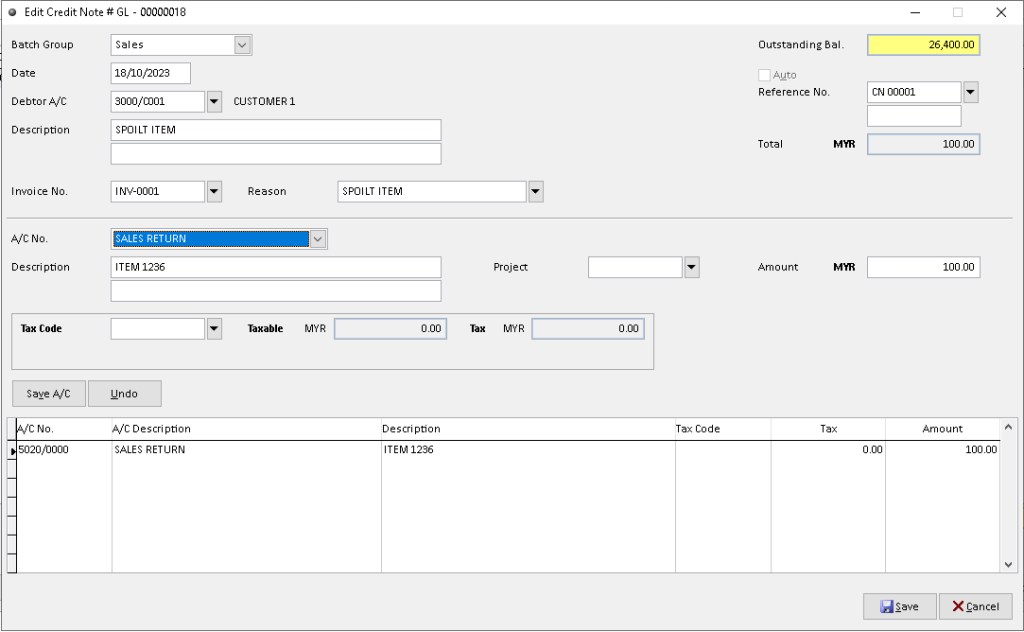
9. Edit/ change the data that you want, then click > Save A/C button to save and click > Save button after the record available in table
10. Tick the checkbox to Knock Off the associated records, then click > Save button to confirm. Finish
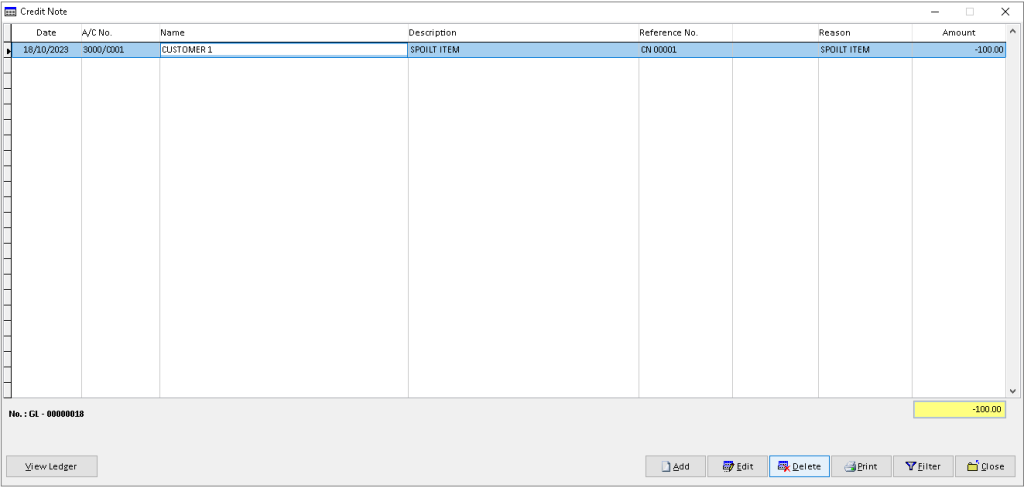
1. Go to Debtors > Credit Note
2. Click a record that want to delete, then click > Delete button
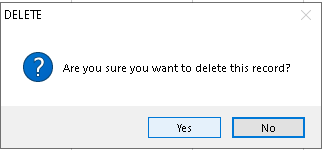
3. Click > Yes button
4. Click > OK button. Finish
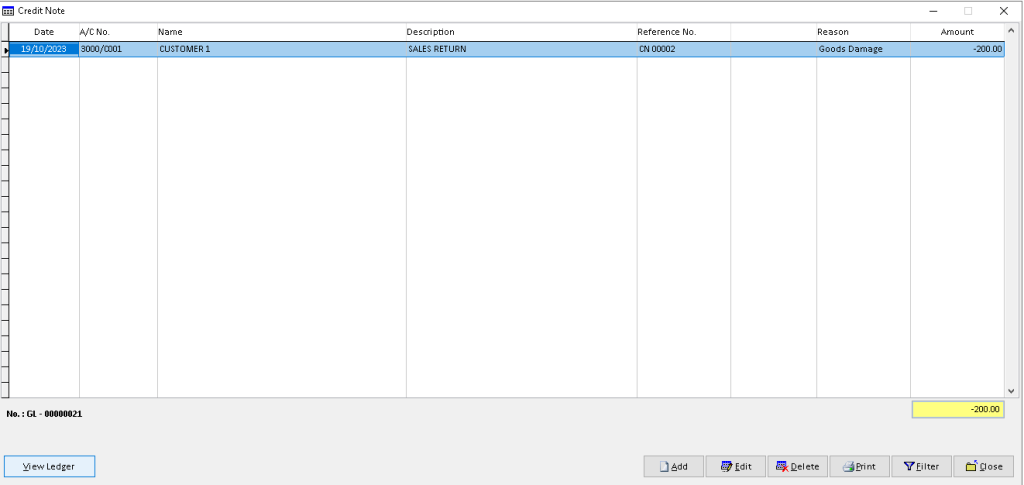
1. Go to Debtor > Credit Note
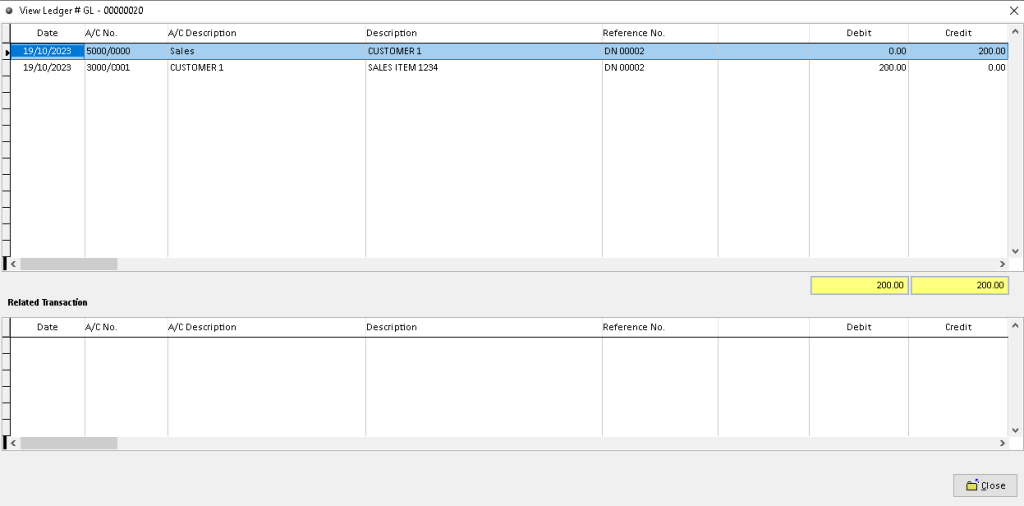
2. Click a record that want to view from list, then click > View Ledger button
3. You can view the transaction record that has been made by Debtor. Finish
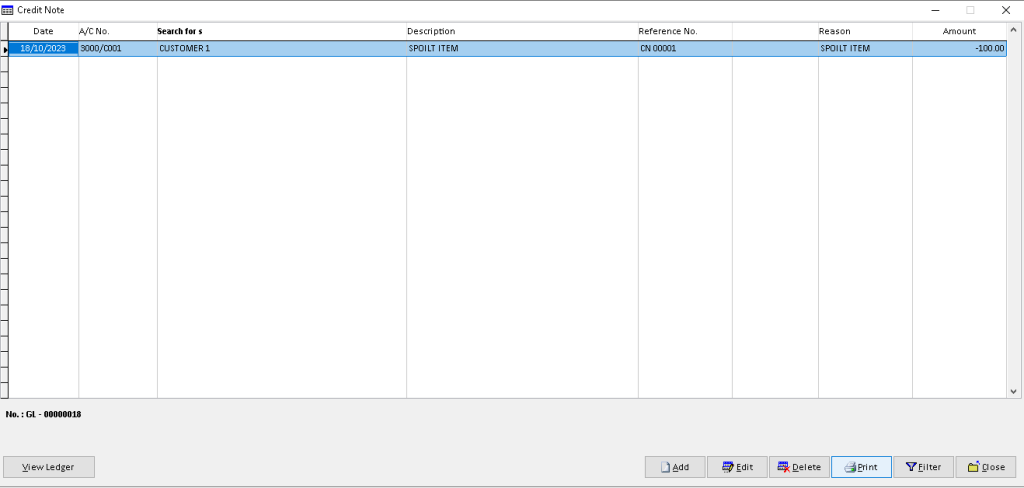
1. Go to Debtors > Credit Note
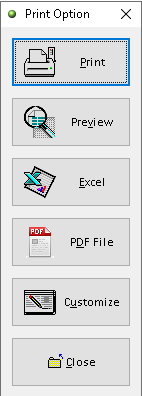
2. Click > Print button
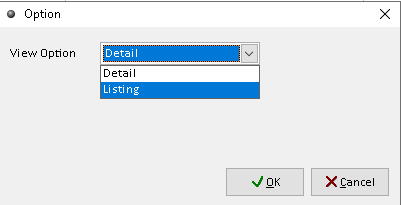
3. Click > dropdown button , select the associated view option, then click > OK button to proceed.
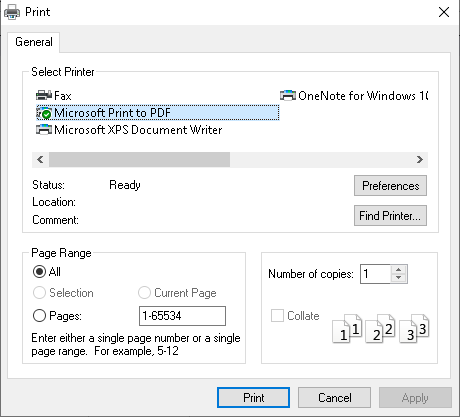
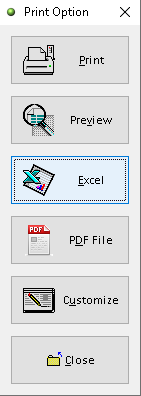
4. Click > Print button to print out the Credit Note
5. Click > Print button to proceed (adjust printer on your own setting). Finish
1. Go to Debtors > Credit Note
2. Click > Print button
3. Click > dropdown button , select the associated view option, then click > OK button to proceed.
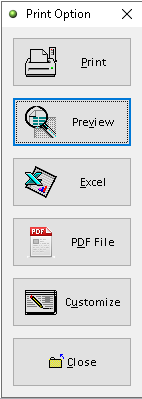
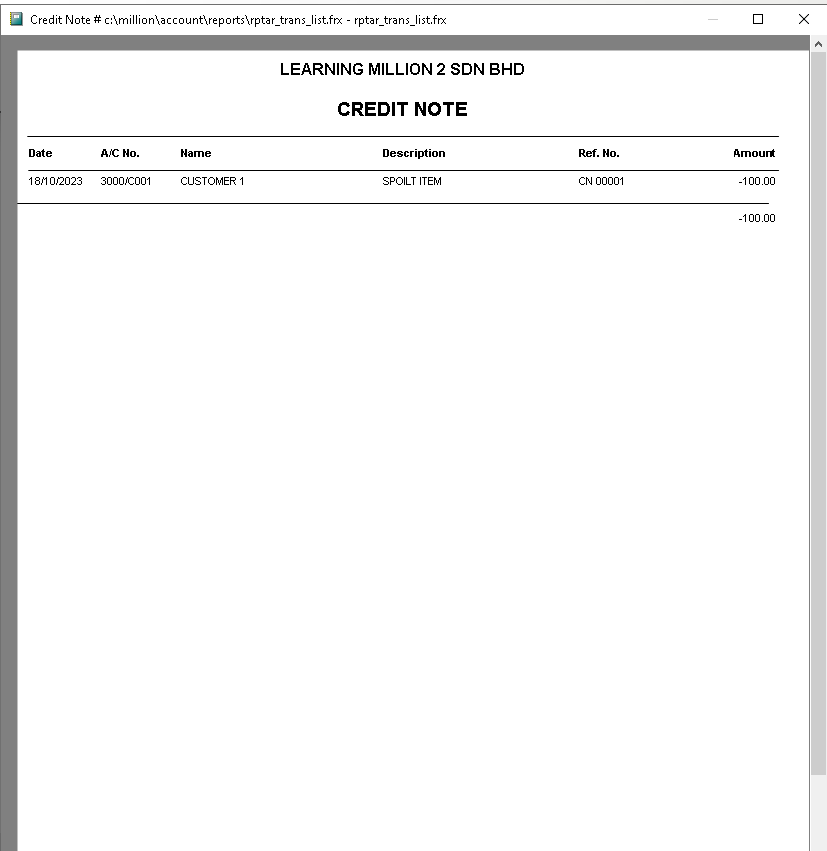
4. Click > Preview button to preview the Credit Note
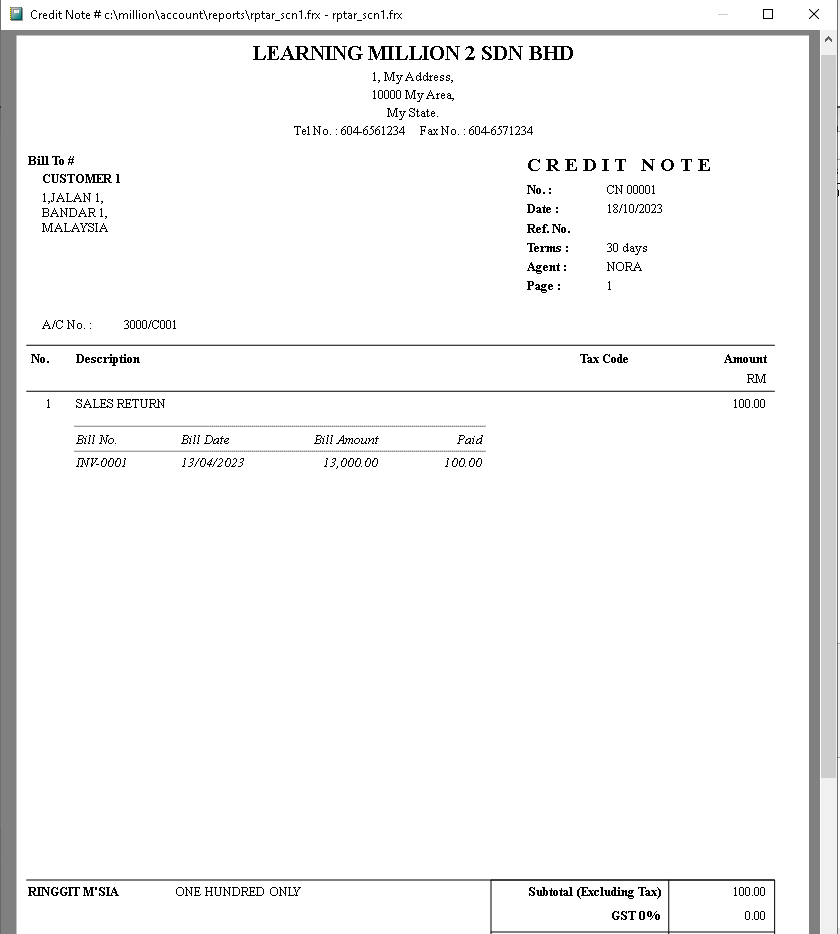
5. The actual output of Credit Note statement. Finish
(View Option > Details)
(View Option > Listing)
1. Go to Debtors > Credit Note
2. Click > Print button
3. Click > dropdown button , select the associated view option, then click > OK button to proceed.
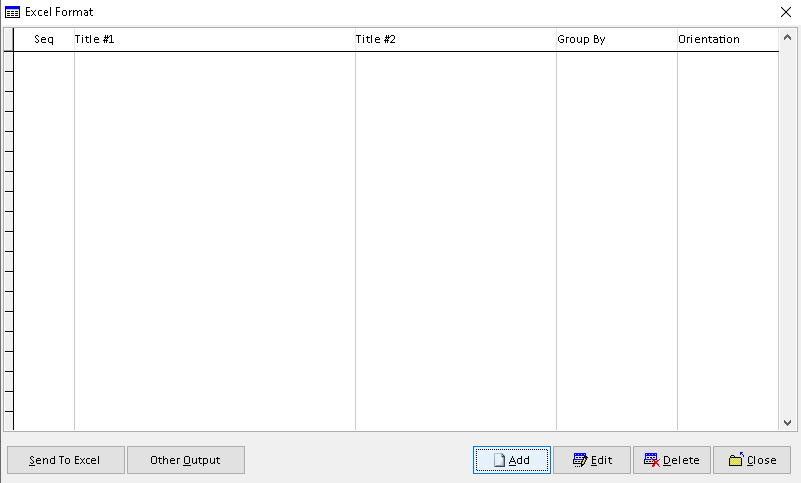
4. Click > Excel button to export the Credit Note
5. Click > Add button
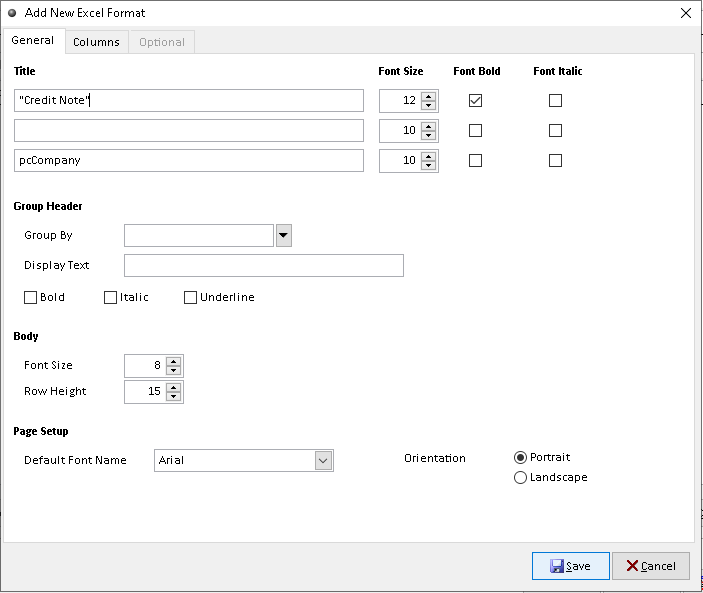
6. Adjust the setting and information based on your setup, then click > Save button
7. Click > Yes button to confirm. Finish
1. Go to Debtors > Credit Note
2. Click > Print button
3. Click > dropdown button , select the associated view option, then click > OK button to proceed.
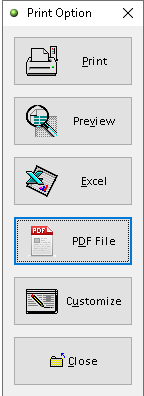
4. Click > PDF File button to export the Credit Note
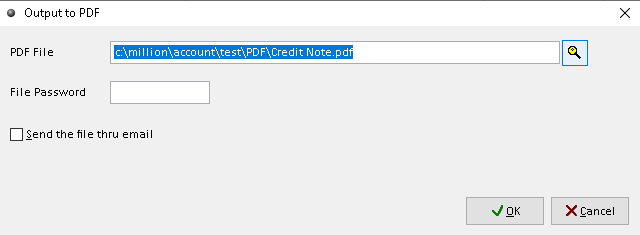
5. Click > search logo to choose folder as place to export Credit Note to pdf (File Password, Send the file thru email > optional ), then click > OK button
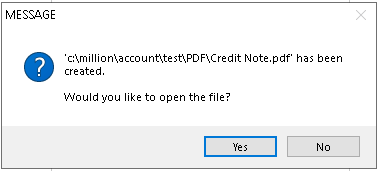
6. Export Credit Note successful, click Yes /No button (optional). Finish
1. Go to Debtors > Credit Note
2. Click > Print button
3. Click > dropdown button , select the associated view option, then click > OK button to proceed.
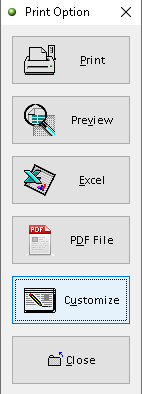
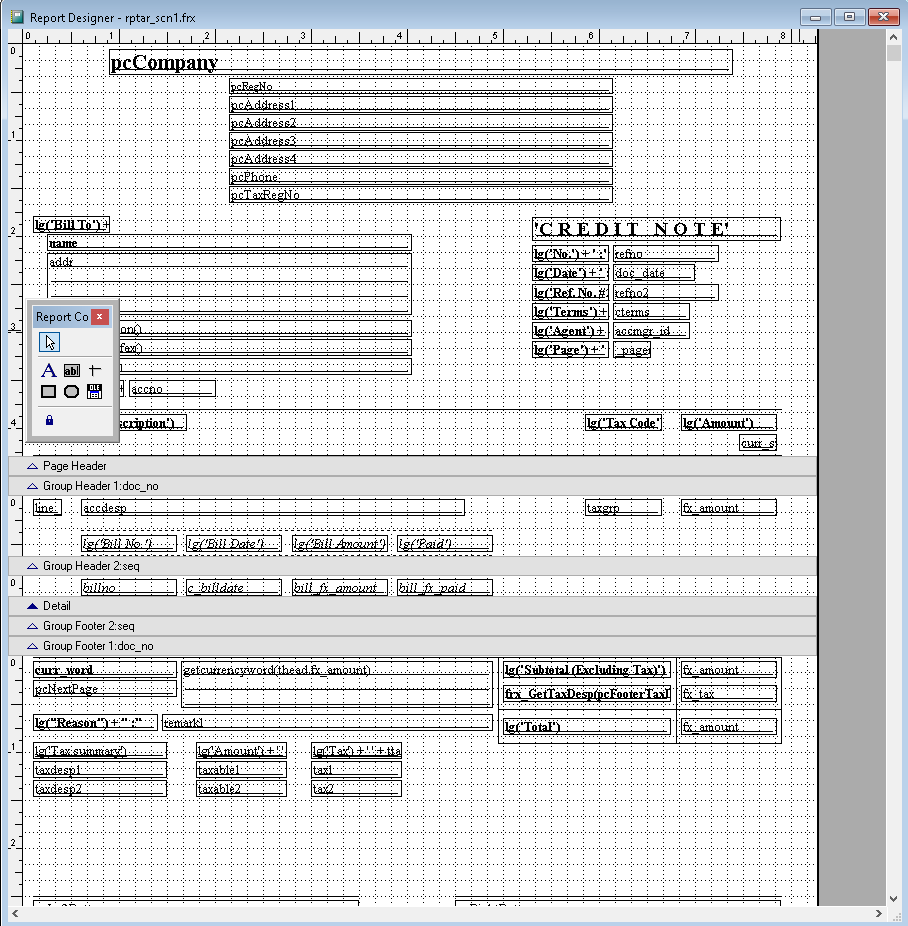
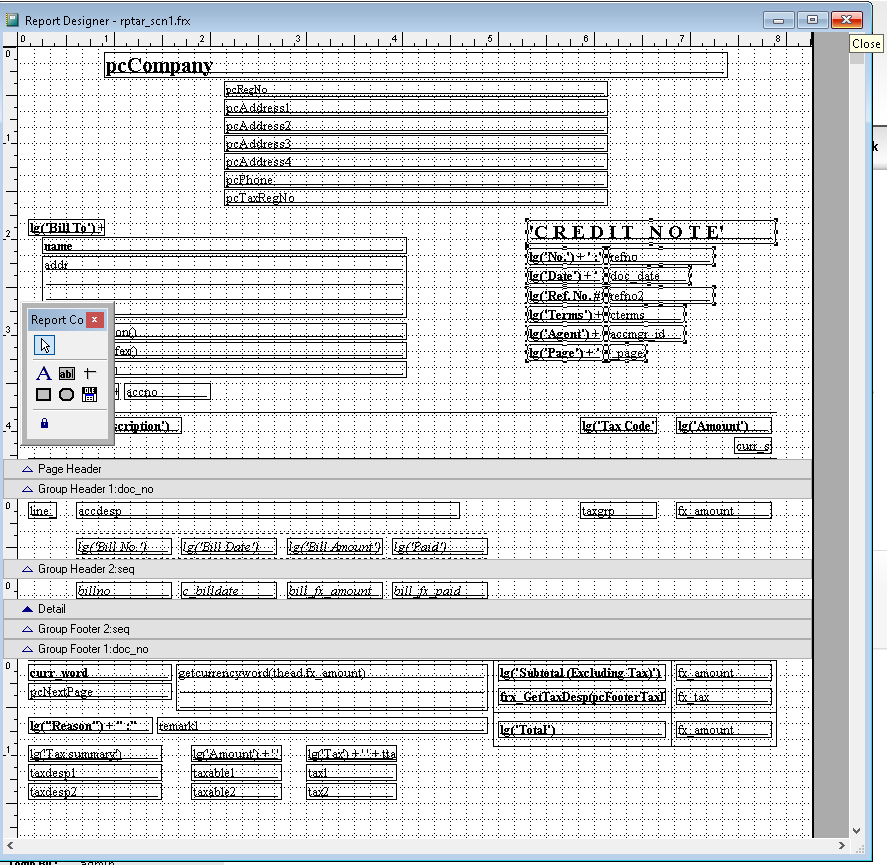
4. Click > Customize button
5. You can custom the design you want based on the available tools. The default the element can be drag by click it
6. After completely custom, click > X (close window)
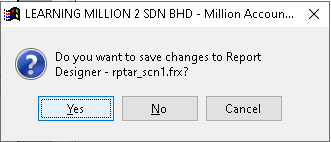
7. Click > Yes button to save customize Credit Note. Finish
1. Go to Debtors > Credit Note
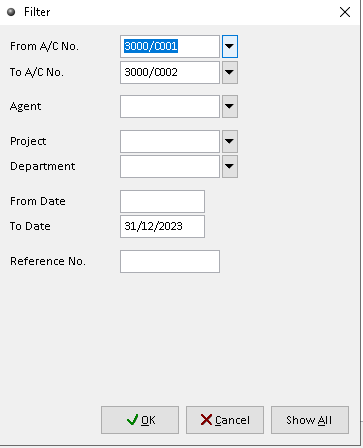
2. Click > Filter button
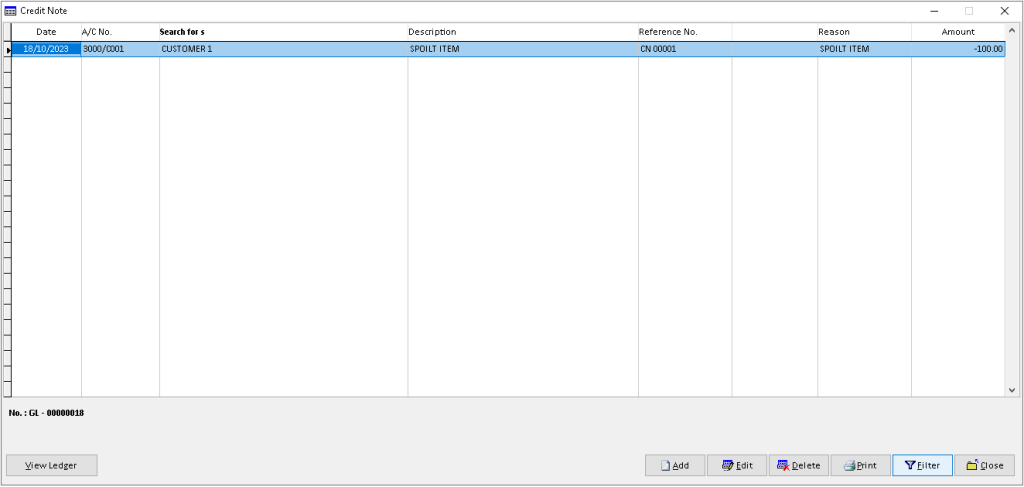
3. Use dropdown button to choose the Debtor and other associated data, then click > OK to filter the credit records.
4. The filtered records will display here. Finish